在编辑首尾插入和追加片段Insert and Append at End Edits
6 steps
本卡概念Key Concepts
简介Overview
soundbite 已就位后,就可以用 B-roll 素材搭建故事结构了。先在编辑的首尾各加一个镜头,后续用作片头和片尾标题的背景。Now that you have the soundbites in the timeline, you can start building out the story with some of the B-roll footage. You will start by adding a shot at the start and end of the edit, which will eventually be used as a background for the opening and closing titles.
- 在 bin 列表中选择 B-ROLL bin。Select the B-ROLL bin in the bin list.
本片所有 B-roll 素材都集中在这一个 bin 里,素材量大时不易找到切入点。理论上可以再细分到不同 bin,但和之前处理过的 subclip 一样,这里已经用关键词 smart bin 预先归好类了。All the potential B-roll footage for this edit is in this single bin but, depending on how much footage you’re dealing with, it may be difficult to see where to start. You could organize this footage further into separate bins; however, as with the subclips you used earlier, this process has already been done for you using a series of keyword smart bins.
- 在 bin 列表下方的 Smart Bins 区域中,展开 Keywords 文件夹,点击折叠三角打开关键词 smart bin 列表,选择 TIMELAPSE smart bin。In the Smart Bins list in the bottom section of the bin list, select the Keywords folder and then click the disclosure triangle to open the list of keywords smart bins, and select the TIMELAPSE smart bin.
TIP · 提示可以拖动 Smart Bins 区域顶部的分隔线来调整其大小…
可以拖动 Smart Bins 区域顶部的分隔线来调整其大小。You can resize the Smart Bins area by dragging the dividing line at the top of the Smart Bins section of the bin list.
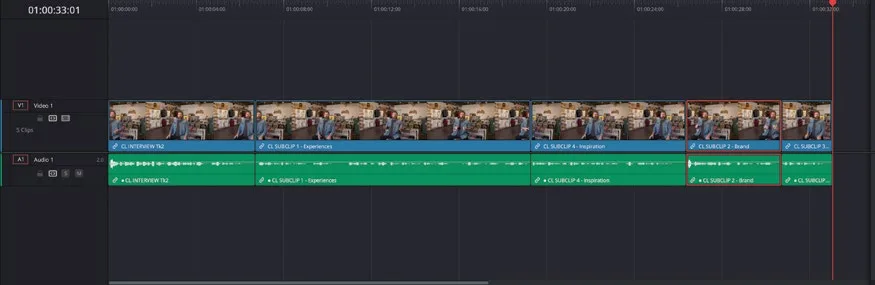
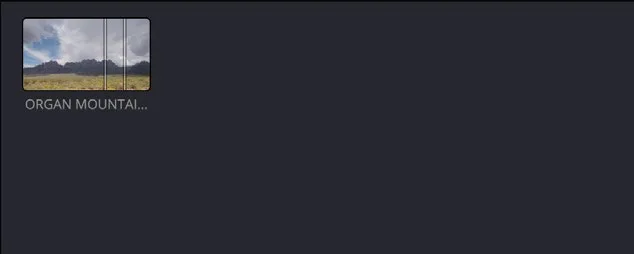
该 smart bin 收录了所有带有 "TIMELAPSE" 关键词的片段,这里只有一条。This smart bin contains any clips that have been identified and tagged with the “TIMELAPSE” keyword, which is just one in this case.
- 双击 smart bin 中的片段 ORGAN MOUNTAIN 1,在 source viewer 中打开。Double-click the clip in this smart bin, ORGAN MOUNTAIN 1, to open it in the source viewer.
这是一段 Organ Mountain(风琴山)的延时镜头,很适合作为后续添加的片头图形和片尾标题的背景。注意 In/Out 点已经预先打好,时长为 7 秒。This is a timelapse shot of the eponymous Organ Mountain and will serve well as a background to the opening graphic and closing titles you will add later. Notice that In and Out points have already been applied for you at a duration of 7 seconds.
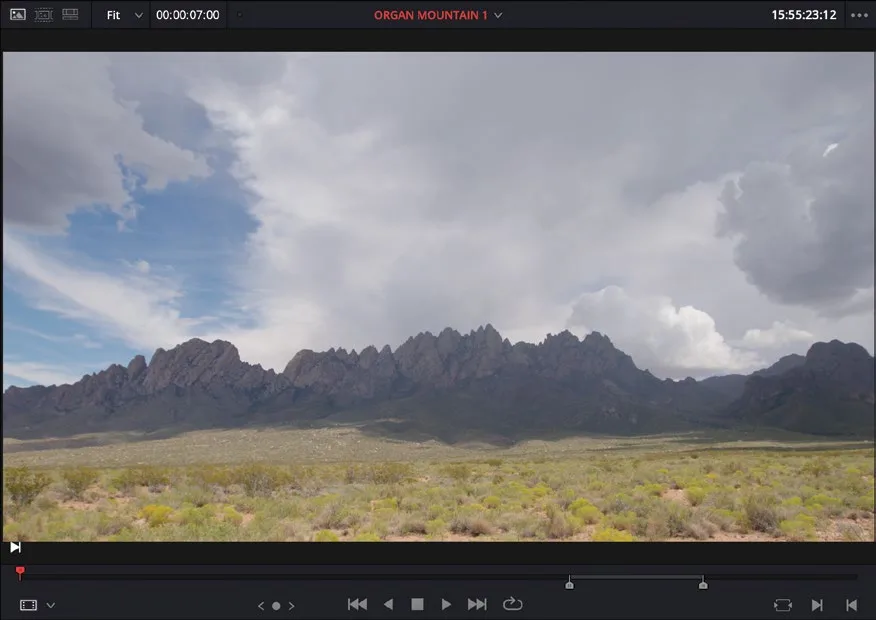
接下来要指定片段插入到 timeline 的哪个位置。Now you will tell Resolve where in the timeline you want this clip to be edited.
- 取消选中任何片段,将 timeline playhead 移动到 timeline 起始处。Deselect any clips and move the timeline playhead to the start of the timeline.
- 从 source viewer 拖动片段到 timeline viewer,放到 Insert overlay 上,松开鼠标。Drag the clip from the source viewer to the timeline viewer, placing it on the Insert overlay, and release your mouse button.
片段已插入 timeline,且不会覆盖已有片段。The clip is inserted into the timeline without overwriting any existing clips.
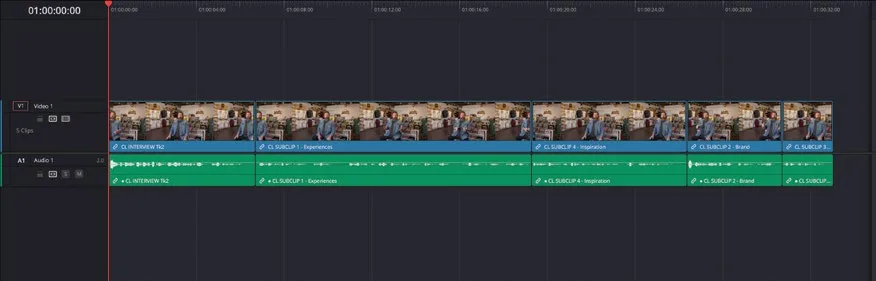
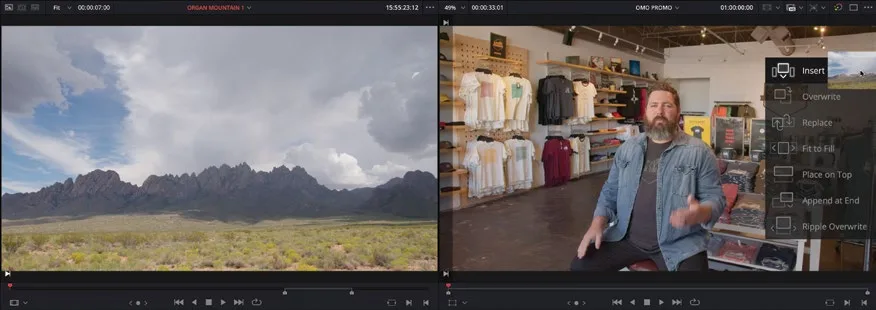
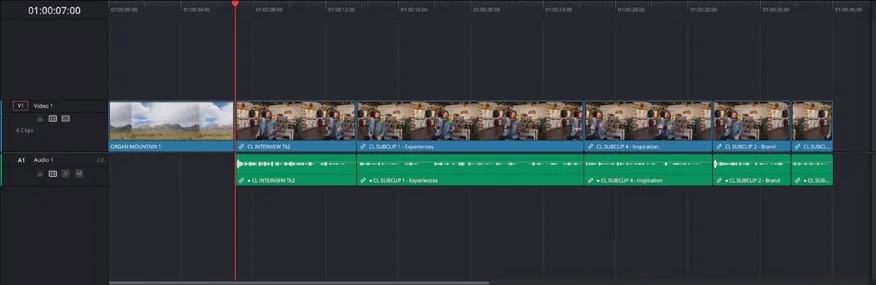
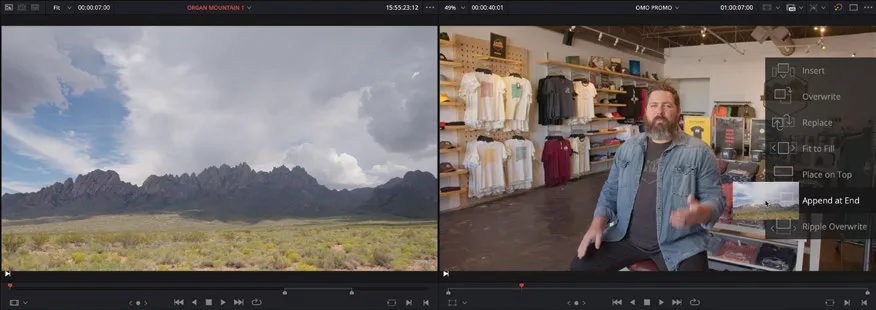
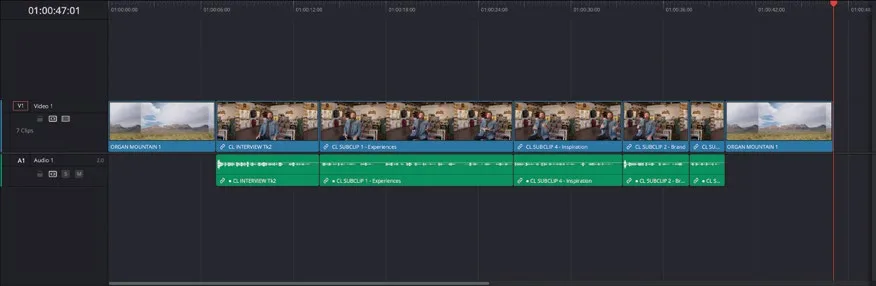
Append at End(末尾追加)编辑同样实用,顾名思义,它会把新片段添加到时间线最后一个片段之后。Another useful editing function is the Append at End edit. This does exactly what it says: it adds the new clip after the last clip in the timeline.
- 将片段从 source viewer 拖到 timeline viewer,放置在 Append At End overlay 上。Drag the clip from the source viewer to the timeline viewer, placing it on the Append At End overlay.
本卡术语Terms in this card
B-roll 素材B-roll 媒体夹Bin 关键词智能媒体夹Keyword Smart Bins 智能媒体夹Smart Bins 声音片段Soundbite 源检视器Source Viewer 子片段Subclips 时间线Timeline 覆盖Overwrite 播放头Playhead 关键词Keywords
相关知识卡Related Cards
关键词智能媒体夹Keyword Smart Bins 智能媒体夹Smart Bins 子片段Subclips 时间线Timeline