TASK 1Task 1
替换剪辑采访片段Replace Interview Clip
7 steps
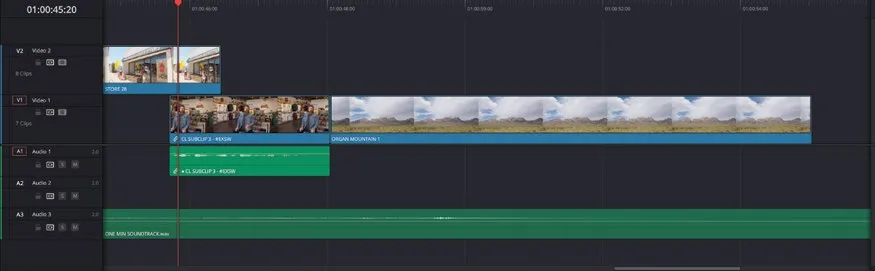
- 在时间线上播放最后一段采访片段,听 Chris 说出他的“experience the southwest”广告语。In the timeline, play the final interview clip and listen to Chris deliver his “experience the southwest” tagline.
坦白说,这段语气不算最理想,偏偏它还是这条宣传片的收尾台词。好在这句话不止录了一遍。Arguably, it’s not exactly his best delivery, especially since this is the final dialogue of this promo video. Luckily, this wasn’t the only take of this spoken line.
- 点击
Detail Zoom按钮放大片段,借助波形把时间线播放头定位到 Chris 开口说“And that's why we say…”的位置。Click the Detail Zoom button to zoom in to the clip and place the timeline playhead where Chris begins to say, “And that’s why we say…” using the waveforms as a guide. - 在 INTERVIEW smart bin 中双击 CL INTERVIEW Tk7,将它在 Source Viewer 中打开。From the INTERVIEW smart bin, double-click the clip CL INTERVIEW Tk7 to open it in the source viewer.
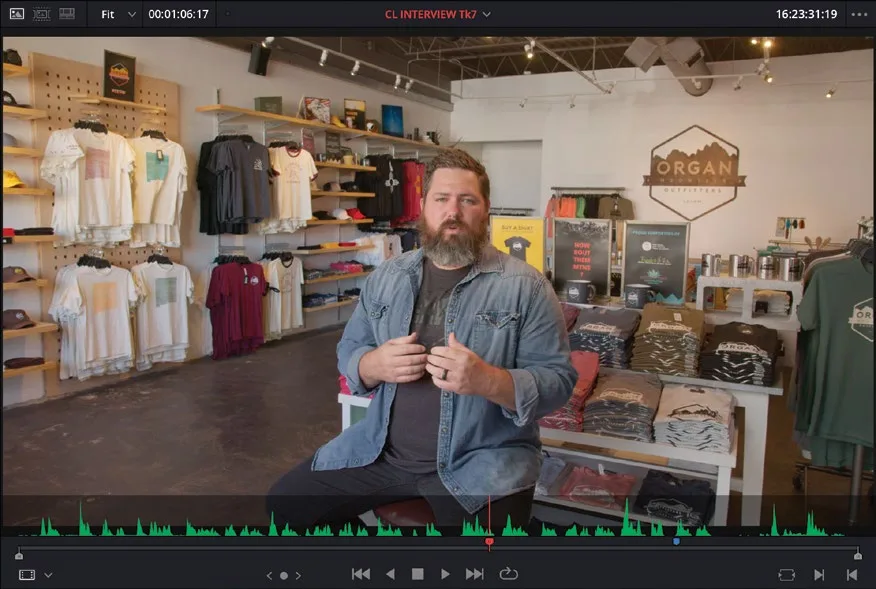
这段素材上有一个 marker(标记),方便你快速找到正确的位置。This clip contains a marker to help you locate the correct part of this clip.
TIP · 提示在 Source、Timeline 或时间线本身都可以按 M 键添加自己的 marker。双击任意已有 marker,可…
在 Source、Timeline 或时间线本身都可以按 M 键添加自己的 marker。双击任意已有 marker,可以修改名称、颜色,添加注释或关键词。关于 marker 的更多用法会在后续课程中介绍。You can add your own markers to a clip in the source, in the timeline, or to the timeline itself by pressing M. Double-click any existing marker to change the name and color of the marker and add comments or keywords. You will learn more about adding and working with markers in later lessons.
- 如果 Source Viewer 播放头在 marker 左侧,按 Shift-Down Arrow 跳到 marker;如果在右侧,按 Shift-Up Arrow 跳回 marker。If the source viewer playhead is to the left of the marker, press Shift-Down Arrow to jump forward to the marker; if the source playhead is to the right of the marker, press Shift-Up Arrow to jump back to the marker.
播放头落到 marker 所在帧后,Source Viewer 上会弹出该 marker 的详细信息浮层。Once the playhead is on the same frame as the marker, an overlay in the source viewer shows details about the marker.
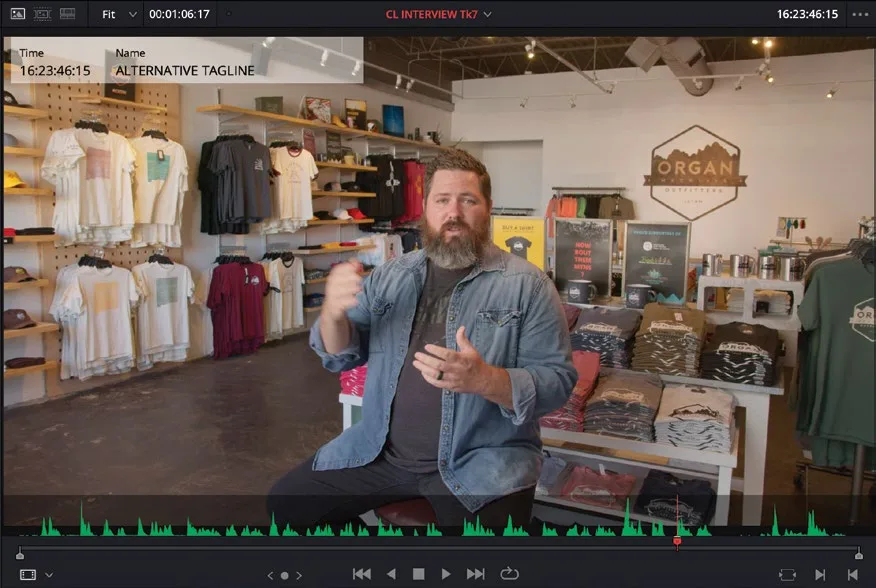
- 从 Source Viewer 把素材拖到 Timeline Viewer 浮层中的 replace edit 区域。Drag the clip from the source viewer to the replace edit in the timeline viewer overlays.
时间线上的素材随即被替换成 Viewer 中的素材。注意,原本 Source 素材上的 marker 会出现在时间线播放头下方。The clip in the timeline is replaced by the clip in the viewer. Notice that the marker from the source clip appears under the position of the timeline playhead.
不过,这条备用的"体验西南"台词念得比原版稍慢一些,需要做一些裁剪处理。However, as this alternative take of the “experience the southwest” line was delivered slightly slower than the one you originally used, you’ll need to do a bit of trimming.
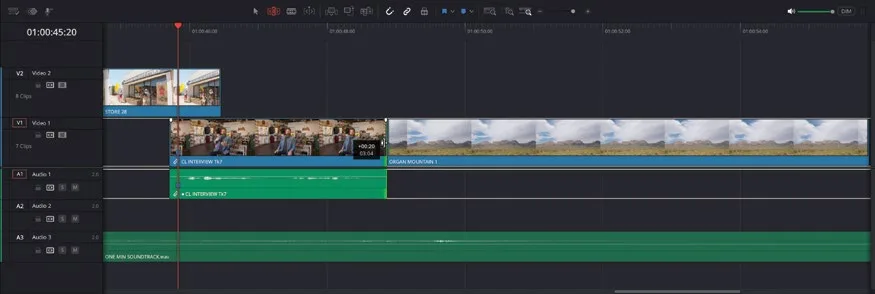
- 如果需要,按 T 键开启 Trim Edit 模式,对新片段尾部 ripple 裁剪约 1 秒(鼠标悬停时提示框显示 01:00)。If required, press T to enable Trim Edit mode and ripple trim the end of the new clip by about 1 second (01:00 in the tooltip).
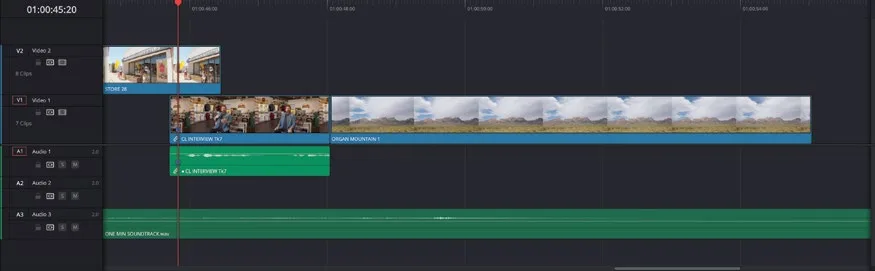
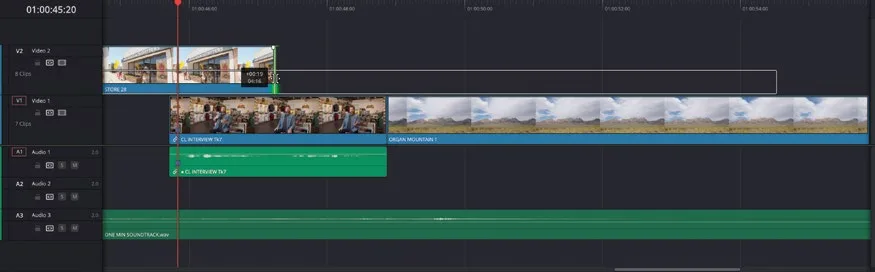
- 对 Video 2 上最后一段素材 STORE 28 的尾部做 Roll 编辑,使切回 Video 1 上 Chris 双手放到膝盖上之后的最终采访镜头。Roll the end of the last clip on Video 2, STORE 28, so that you cut back to Chris’s final interview clip on Video 1 after he has put his hands on his knees.
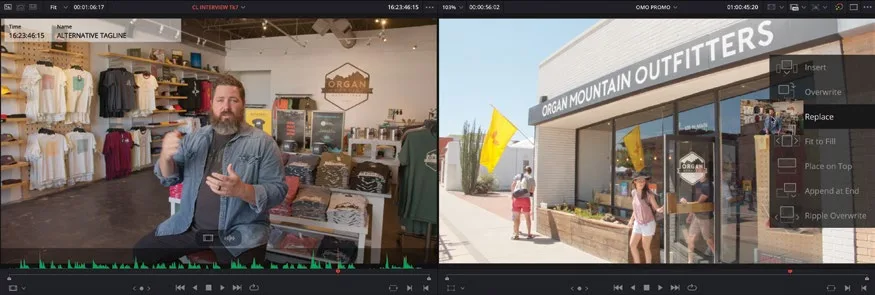
替换编辑是除了常规 Overwrite 和 Insert 编辑之外最实用的编辑类型之一。事实上,由于使用频率极高,它也是时间线工具栏中仅有的三个编辑功能之一。The replace edit is one of the most useful types of edits beyond the usual overwrite and insert edits. In fact, it’s so common to use the replace edit that it is one of only three editing functions available in the timeline toolbar.
NOTE · 注意在 macOS 系统上,可能需要修改默认键盘快捷键设置才能将 F11 用作替换编辑的快捷键。前往 Apple menu…
在 macOS 系统上,可能需要修改默认键盘快捷键设置才能将 F11 用作替换编辑的快捷键。前往 Apple menu > System Settings,选择 Keyboard > Shortcuts > Mission Control,取消勾选或修改 Show Desktop 的快捷键。On macOS systems, you might need to make a further change to the default keyboard functions in order to use F11 as the shortcut for replace edits. Select the Apple menu > System Settings and choose Keyboard > Shortcuts > Mission Control, and either deselect or change the shortcut used for Show Desktop.
指定目标轨道:在上一课中,你一开始是把一系列片段编辑到时间线的第一条视频和音频轨道上,也就是 Video 1 和 Audio 1。随后添加的插切画面(cutaway)则编辑到额外的轨道(Video 2 和 Audio 2,音乐则放到 Audio 3)上,使用的是 Place on Top 编辑方式,系统会根据需要自动创建这些轨道。Specifying Destination Tracks In the previous lesson, you started by editing a series of clips onto the first video and audio tracks in the timeline: Video 1 and Audio 1. The clips you subsequently added as cutaways were edited onto additional tracks (Video 2 and Audio 2, and then Audio 3 for the music) using the Place on Top edit, which automatically created those additional tracks as they were needed.
NOTE · 注意也可以手动新建轨道:在时间线中右键任意轨道的轨道控制面板,选择 Add Tracks。右键视频轨道的控制面板可以在其正上…
也可以手动新建轨道:在时间线中右键任意轨道的轨道控制面板,选择 Add Tracks。右键视频轨道的控制面板可以在其正上方新建一条视频轨道(例如右键 Video 2 的轨道控制面板选择 New Track,会自动创建 Video 3 轨道);右键音频轨道的控制面板则可以在其下方新建一条音频轨道。如果要一次添加多条视频和/或音频轨道,同样右键任意轨道的控制面板,选择 Add Tracks。You can create new tracks manually by right-clicking the track controls for any track in the timeline and choosing Add Tracks. Right-clicking the controls for a video track will allow you to create a new video track directly above it (e.g., right- clicking the track controls for Video 2 and choosing New Track will automatically create a Video 3 track) and right-clicking the track controls for an audio track will allow you to create a new audio track below it. If you wish to add multiple video and/or audio tracks, right-click the controls for any track and choose Add Tracks.
但如果想把片段直接编辑到现有轨道上,就需要通过时间线轨道头部的目标控制按钮来指定目标轨道。However, if you wish to edit directly to an existing track, you will need to specify that track using the destination controls in the timeline track headers.
本卡术语Terms in this card
媒体夹Bin 切出镜头Cutaway 插入编辑Insert Edit 置顶插入Place on Top 源检视器Source Viewer 时间线Timeline 标记Marker 覆盖Overwrite 播放头Playhead 替换编辑Replace Edit 波纹Ripple 修剪Trim 键盘快捷键Keyboard Shortcuts 关键词Keywords