反向修剪剪辑Backtiming Edits
15 steps
简介Overview
之前为 Chris 的访谈添加第一组 cutaway 镜头时,是通过设置 In 点来指定每条素材的起点。但有些情况下,你需要先把素材插入时间线,再指定它的结束位置,这个流程叫做反向修剪(backtiming)。When you were adding the first set of cutaways to Chris’s interview, you were specifying where each of those shots would start based on the placing of the In point. However, there are certain circumstances when you’ll want to edit a clip into the timeline and specify where that shot should end. This process is often referred to as backtiming.
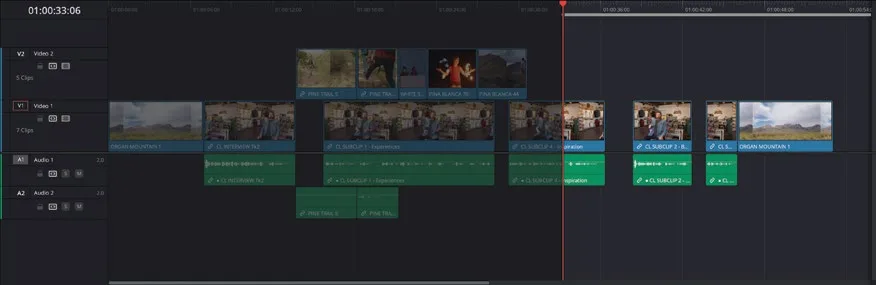
- 播放时间线上的第三条访谈素材,在 Chris 说完 "…we bring it back to the store…" 之后打一个 In 点。Play the third interview clip in the timeline, adding an In point just after Chris says, “…we bring it back to the store….”
- 按 Down Arrow 跳到时间线上的下一个编辑点,按 O 打一个 Out 点。Press the Down Arrow to jump to the next edit point in the timeline, and press O to add an Out point.
NOTE · 注意DaVinci Resolve 的播放头包含当前帧,也就是说 In 点始终加在帧的起始位置,Out 点始终加在帧的结束位…
DaVinci Resolve 的播放头包含当前帧,也就是说 In 点始终加在帧的起始位置,Out 点始终加在帧的结束位置,因此可标记的最短时长为 1 帧。The playhead in DaVinci Resolve is inclusive of the current frame, which in practice means that In points are always added at the head, or start, of the frame, and Out points are always added at the tail, or end, of the frame. This means the minimum duration you can mark is 1 frame.
- 选择 RETAIL smart bin,找到名为 STORE 2 的素材,在源监视器中打开。Select the RETAIL smart bin, locate the clip named STORE 2, and open it in the source viewer.
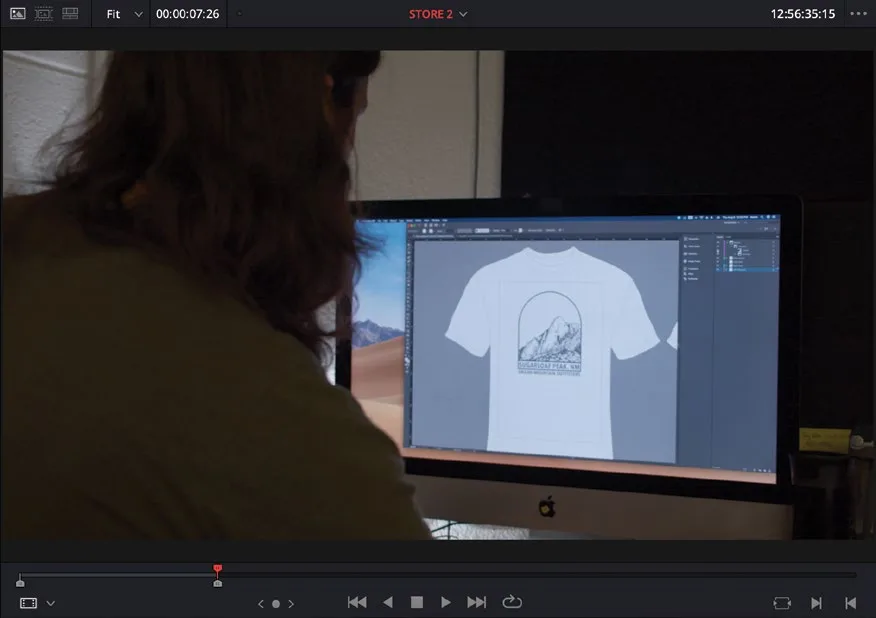
这条素材是 Organ Mountain Outfitters 主设计师在电脑上绘制最新 T 恤图案的画面。This is a clip of Organ Mountain Outfitters’ lead designer creating their latest T-shirt design on the computer.
- 在素材靠前的位置找到黑色大圆圈出现之前的那一帧。Locate the frame, near the beginning of the clip, just before the large black circle appears.
这一帧就是这条镜头的结束位置。This is where you want this shot to end.
- 在该帧打一个 Out 点。Add an Out point at this frame.
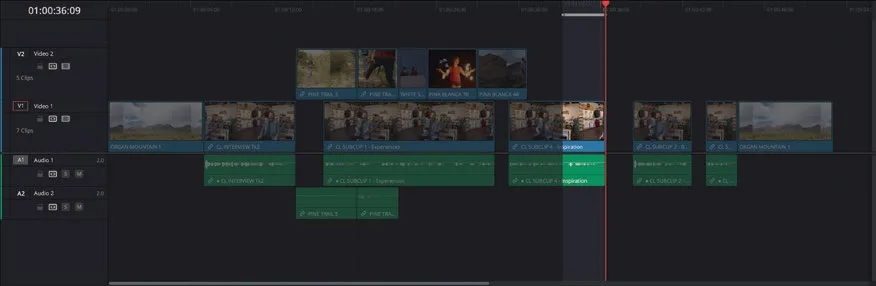
由于源监视器中只有 Out 点、没有 In 点,素材会按预期插入时间线,且两个 Out 点对齐,镜头会被反向修剪到时间线的 In 点位置。In this case, because there is just an Out point and no In point in the source viewer, the clip will be edited to the timeline as expected, but the two Out points will be aligned, meaning the shot will then be backtimed to the timeline In point.
TIP · 提示如果要删除 In 点,可以选择 Mark > Clear In,或按 Option-I(macOS)/ Alt-I(Wi…
如果要删除 In 点,可以选择 Mark > Clear In,或按 Option-I(macOS)/ Alt-I(Windows)。删除 Out 点同理,选择 Mark > Clear Out,或按 Option-O(macOS)/ Alt-O(Windows)。同时删除 In 和 Out 点,选择 Mark > Clear In and Out,或按 Option-X(macOS)/ Alt-X(Windows)。If you need to remove an In point, you can choose Mark > Clear In or press Option-I (macOS) or Alt-I (Windows). Similarly, to remove an unwanted Out point, choose Mark > Clear Out or press Option-O (macOS) or Alt-O (Windows). To remove an In and Out point simultaneously, choose Mark > Clear In and Out or press Option-X (macOS) or Alt-X (Windows).
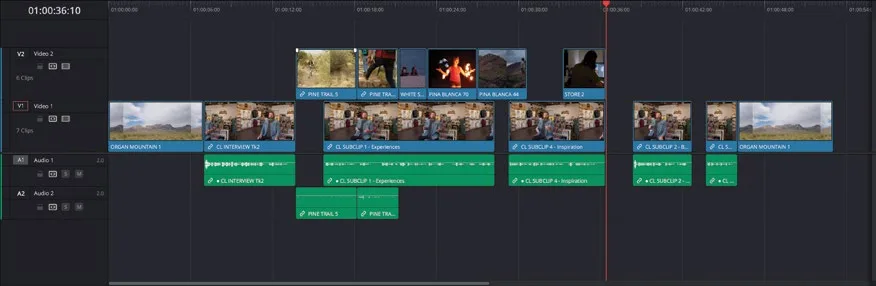
- 按 F12 执行 Place on Top edit。Press F12 to make a Place on Top edit.
接下来要加一个 cutaway 镜头来衔接下一段空隙。Next, you’ll add a cutaway to help bridge the next gap.
- 在时间线上空隙起始处打一个 In 点。Add an In point to the start of the gap in the timeline.
- 向前播放,在 Chris 说完 "Our brand is just really a reflection of…" 之后打一个 Out 点。Play forward and add an Out point after Chris says, “Our brand is just really a reflection of….”
- 从 RETAIL smart bin 里把 STORE 34 片段在 source viewer 中打开。From the RETAIL smart bin, open the STORE 34 clip in the source viewer.
这段素材很长,讲的是一件衬衫从设计工作室一路走上货架的全过程。不过你只需要这个大场面的最后一段(对导演说声抱歉!)。This clip is a lengthy sequence of a shirt making its way out from the design studio to the shop shelves. You need only the last part of this ambitious shot, though (apologies to the director!).
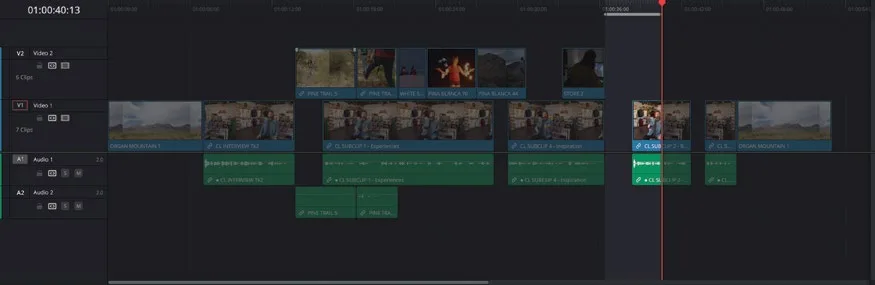
- 在 source viewer 中找到女孩把 T 恤挂好并离开画面的那一帧(接近片段末尾),打一个 Out 点。In the source viewer, locate the frame where the girl hangs the T-shirt up and has left the frame (near the end of the clip), and mark an Out point.
- 按 F12 执行 Place on Top edit。Press F12 to make a Place on Top edit.
- 在时间线当前播放头位置打一个 In 点,再在 Chris 说完 "That's why we say…" 之后打一个 Out 点。Add an In point to the current playhead location in the timeline, and an Out point after Chris says, “That’s why we say….”
- 从 RETAIL smart bin 里把 STORE 28 片段在 source viewer 中打开。From the RETAIL smart bin, open the clip STORE 28 in the source viewer.
- 在戴黑帽的女孩走出店铺、放开门的下一帧打一个 Out 点。Add an Out point on a frame just after the girl in the black hat has exited the store and releases the door.
- 按 F12 执行 Place on Top edit,并带音频。Press F12 to make a Place on Top edit, with the audio.
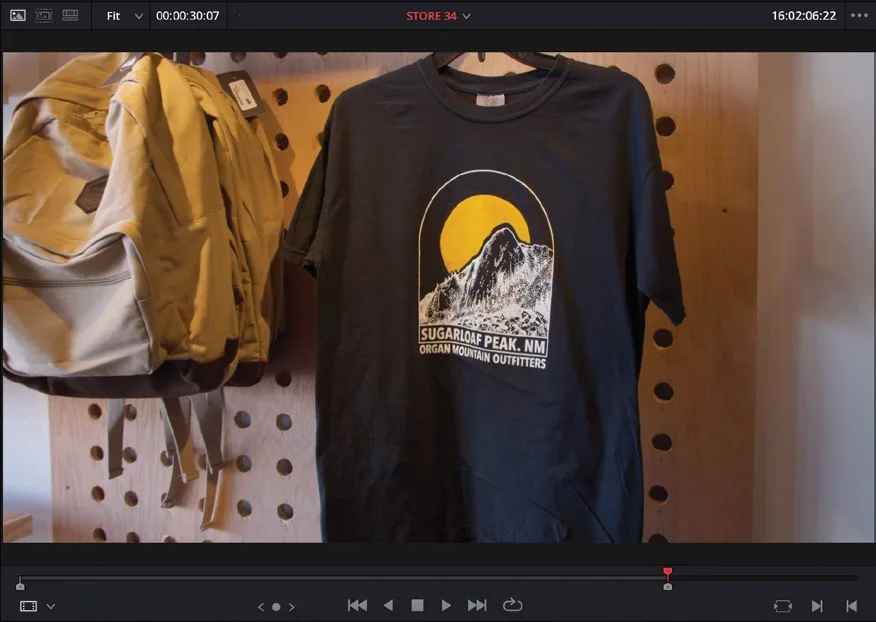
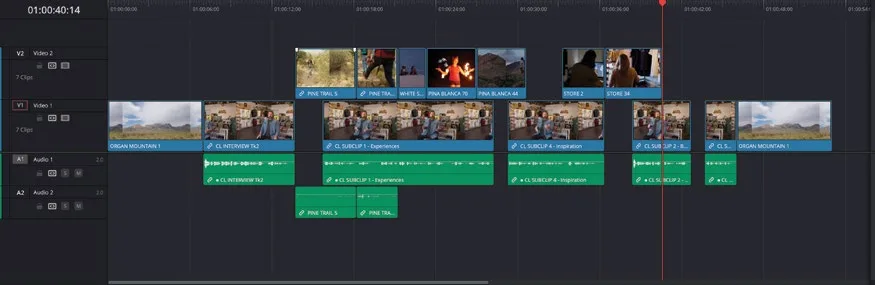
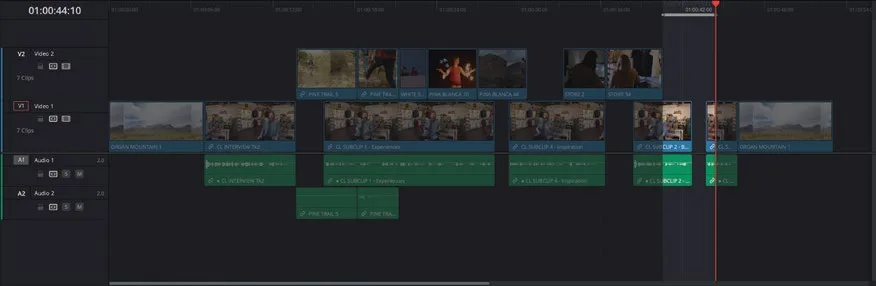
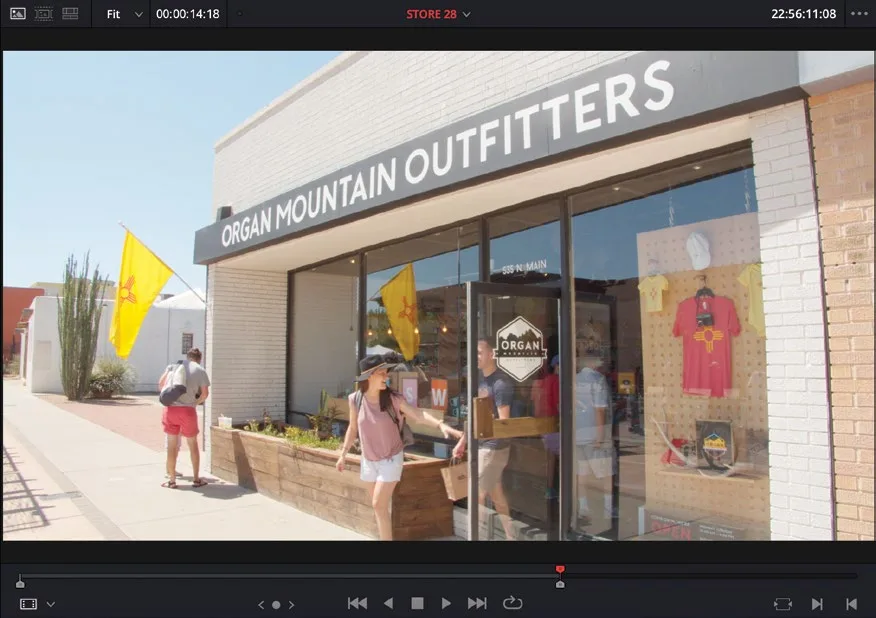
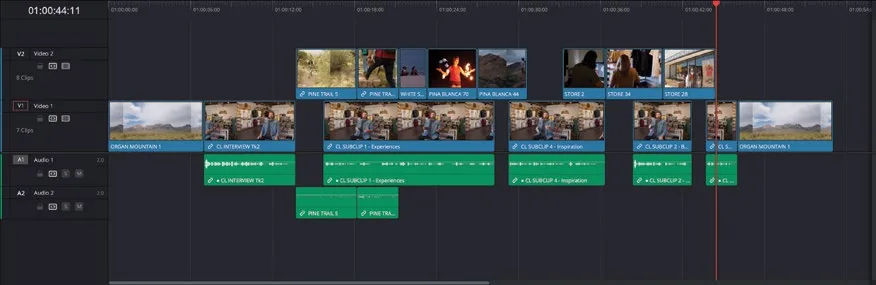
最后一个 cutaway 到位后,Chris 几条 soundbite 之间的 jump cut 和空隙就全部被覆盖了。粗剪完成还差最后一个元素。With the final cutaway in place, all the jump cuts and gaps between Chris’s soundbites have been covered. There’s just one final element to add to this timeline to complete the rough cut.
NOTE · 注意如果在进入下一步前需要先跟上进度,可选中 TIMELINES smart bin,然后执行 File > Import…
如果在进入下一步前需要先跟上进度,可选中 TIMELINES smart bin,然后执行 File > Import > Timeline,定位到 R20 Beginners Guide / Lesson 01 / Timelines / OMO PROMO CATCHUP 04.drt 并点击 Open。If you need to catch up before moving to the next step, select the TIMELINES bin and choose File > Import > Timeline, navigate to R20 Beginners Guide / Lesson 01 / Timelines / OMO PROMO CATCHUP 04.drt and click Open.
本卡术语Terms in this card
反向修剪Backtiming 媒体夹Bin 切出镜头Cutaway 置顶插入Place on Top 声音片段Soundbite 源检视器Source Viewer 时间线Timeline 标记Marker 覆盖Overwrite 播放头Playhead 修剪Trim