配置音频Configuring the Audio
7 steps
简介Overview
媒体导入工程后,先做素材整理再进入剪辑。第一步是把采访画面对应到独立录制的音频文件上。Now that you have the media imported into the project, you can organize the footage prior to editing. You will start by syncing the interview footage to the separately recorded audio files!
很多剧组会用独立录音设备来获取更高品质的音频,或者现场不方便、不适合把声音直接录进摄影机。素材回来后,就需要把对应的音频和视频对齐,这个流程通常叫做 sync the dailies。DaVinci Resolve 把这一步做得相当省心。Many productions record audio on dedicated digital audio devices to capture the highest quality audio, or when it’s not practical or desirable to record audio directly to a camera. Thus, when the files come in from the day’s shoot, you’ll need to sync the appropriate audio and video clips—a process often referred to as “syncing the dailies.” Thankfully, DaVinci Resolve has a fantastic way of making this process as painless as possible.
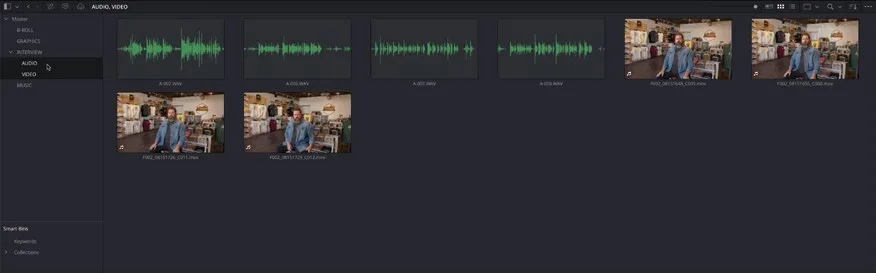
- 在 bin 列表中选中 INTERVIEW bin 里的 AUDIO 和 VIDEO 两个 bin,在 Media Pool 中同时显示两边的内容。In the bin list, select the AUDIO and VIDEO bins inside the INTERVIEW bin to display the contents of both bins in the media pool.
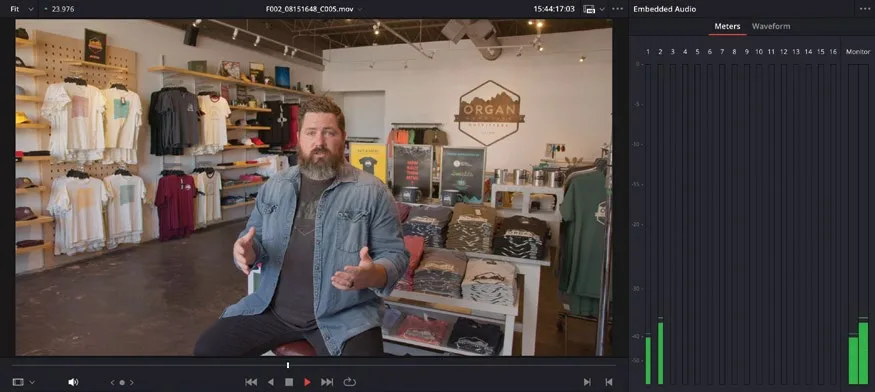
- 在 Viewer 中播放第一条视频素材 F002_08151648_C005.mov。Play the first video clip, F002_08151648_C005.mov, in the viewer.
这就是 Lesson 1 中用过的 Chris Lang 采访片段之一,不过这条素材的录音质量很差。从 Audio面板的电平表可以看到,这条素材的两路音轨电平都很低,基本听不清 Chris 的回答。This is one of the interview clips with Chris Lang that you worked with in Lesson 1. Unfortunately, the audio isn’t very well recorded. From the meters in the Audio panel, you can see that this clip has two audio channels that are very low, and you can probably barely hear Chris’s answers to the interviewer’s questions.
- 打开 Inspector(它会替换
Audio面板的位置),切到File选项卡,向下滚动找到Audio Configuration面板。Open the Inspector (which opens in place of theAudiopanel), select the File tab, and scroll down to theAudio Configurationpanel.
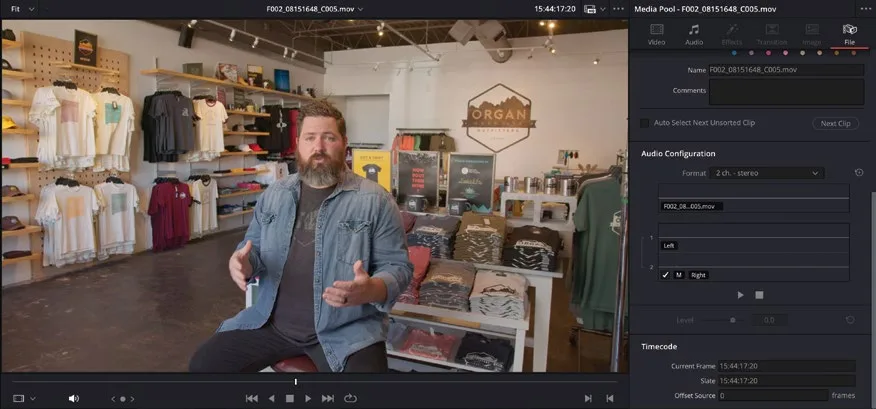
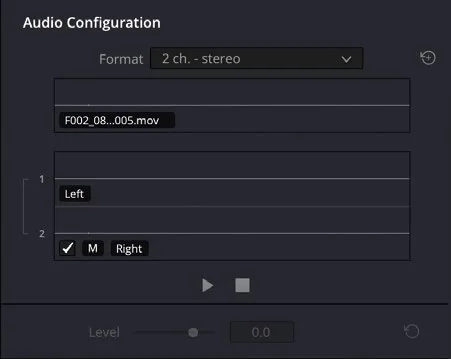
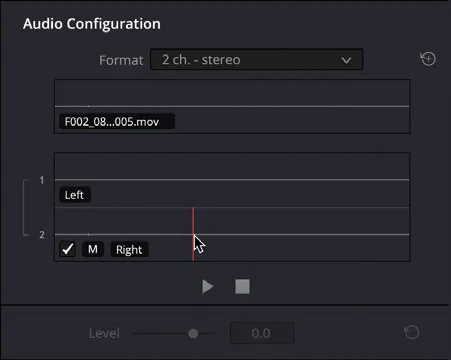
这条素材内嵌两路音轨,组成一对立体声 L/R 通道,Format 下拉菜单里显示为 "2 ch. - stereo"。面板顶部是一条 composite 波形,把所有激活音轨合成成一条;下面则是各条独立音轨的波形。This clip has two embedded audio channels, configured as Left and Right channels in a single stereo audio track, displayed as “2 ch. - stereo” in the Format dropdown menu. A “composite” waveform at the top of this panel displays a single amalgamated waveform of all active audio tracks, with each individual audio track displayed underneath.
NOTE · 注意Audio Configuration 面板最多可以在单条素材中显示并预览 36 条音轨…
Audio Configuration面板最多可以在单条素材中显示并预览 36 条音轨。The Audio Configuration panel can display and allow you to preview up to 36 audio tracks in a single clip.
用鼠标指针可以单独 scrub 或播放各条波形,便于逐条试听。You can scrub and play each of these waveforms separately using your mouse pointer in order to be able to preview each track in isolation.
TIP · 提示按 Shift-S 可切换音频 scrub 模式…
按 Shift-S 可切换音频 scrub 模式。Press Shift-S to toggle audio scrubbing.
对这条素材进行 scrub 或播放时,Left 和 Right 两路声道会分别从系统的左、右扬声器输出。As you scrub or play the audio channels for this clip, you should hear the Left and Right channels play from the left and right speakers of your system, respectively.
- 点击界面右上角的
Audio按钮重新打开音频电平表,并把 Inspector 拖到 Media Pool 旁边。Click the Audio button in the top right of the interface to reopen the audio meters and move the Inspector next to the media pool. - 选中第一个音频片段 A-002.WAV 并播放。Select the first audio clip, A-002.WAV, and play it.
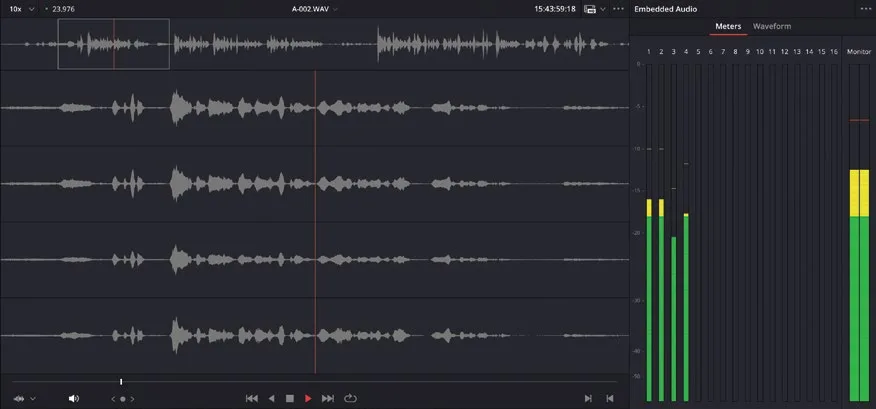
这个片段包含四个音频通道,在音频查看器中以独立的波形显示,音量表读数均处于健康范围。You’ll see that this clip has four audio channels, displayed as separate waveforms in the audio viewer, all with healthy audio levels showing in the meters.
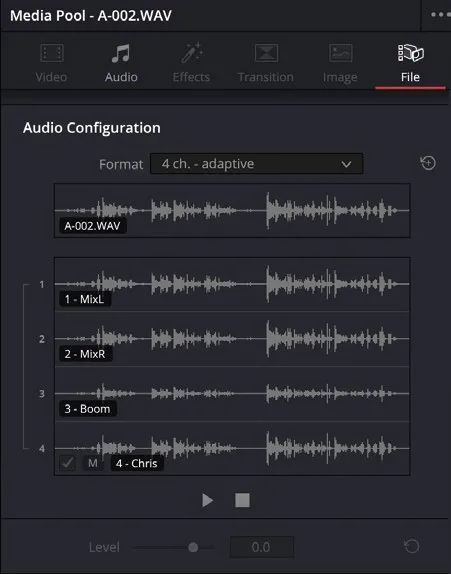
在 Inspector 的 Info 标签页中,可以看到各通道分别标记为 Mix-L、Mix-R、Boom 和 Chris:第 3 通道是 boom 麦克风,第 4 通道是 Chris 的领夹麦,第 1 和第 2 通道是两路混合。In the Info tab of the Inspector, you see the individual channels labeled “Mix-L,” “Mix-R,” “Boom,” and “Chris.” This indicates that a boom mic was recorded on channel 3, Chris’s personal mic was recorded on channel 4, and channels 1 and 2 are a mix of both.
NOTE · 注意提示:音轨名称来自音频文件的元数据。打开 Metadata 面板的 Sort 菜单,选择 Audio Tracks 即可…
提示:音轨名称来自音频文件的元数据。打开 Metadata面板的 Sort 菜单,选择 Audio Tracks 即可查看或添加自定义音轨名。The track names have been imported as part of the audio files’ metadata. You can view specific track names (or add your own) by choosing Audio Tracks from the Metadata panel’s Sort menu.
不过你会发现,这个片段在 Format 下拉菜单中被设置为 4 ch - adaptive,意思是虽然它包含四个独立通道、各自记录不同麦克风或混音,但编辑进时间线后仍会作为一个整体片段出现。要分别利用各个通道,需要先修改音频配置。You will notice, however, that this clip is configured as “4 ch - adaptive” in the Format dropdown menu. This means that although the clip has four separate channels with different mics or mixes being recorded to each channel, if you were to edit this into a timeline, the audio would be presented as a single clip. To get the most out of the separate channels, you’ll need to change the audio configuration.
- 在 Media Pool 中同时选中四个音频片段:A-002.WAV、A-005.WAV、A-007.WAV 和 A-008.WAV。In the media pool, select all four audio clips: A-002.WAV, A-005.WAV, A-007.WAV, and A-008.WAV.
- 在 Inspector 的 Format 下拉菜单中选择 4 ch - mono。In the Format dropdown menu in the Inspector, choose the option “4 ch - mono.”
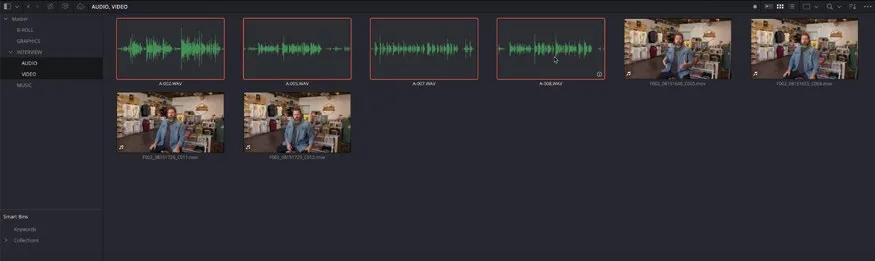
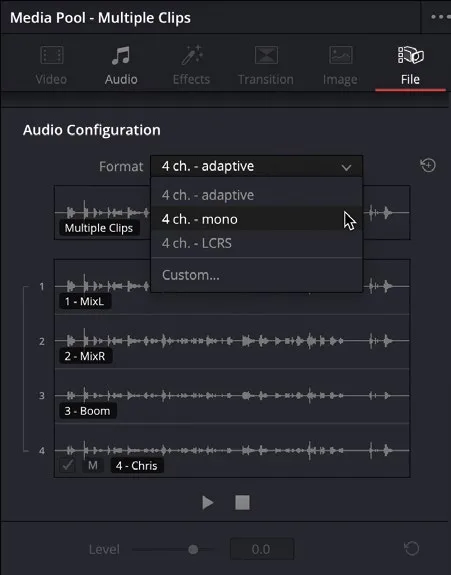
这样就修改了所选片段的音频配置,每个通道可独立使用,在时间线中会显示为四条轨道。This changes the audio configuration of the selected clips so that each channel can now be used separately and will appear as four tracks in the timeline.
音频配置完成后,就可以将视频与音频片段同步到一起,并挑选最合适的通道进行后续工作。Now that you have correctly configured the audio, you can sync the video and audio clips together and choose the most appropriate channels to work with.
本卡术语Terms in this card
媒体夹Bin 媒体池Media Pool 时间线Timeline 检查器Inspector 标记Marker 元数据Metadata 合成Compositing