混音音乐音量Mixing the Music Levels
9 steps
简介Overview
本次剪辑音频处理的最后一步是混合音乐与时间线上其他音轨,也就是在采访或其他对白片段出现时降低音乐音量——这个技巧通常称为 ducking(闪避)。The final touch you will apply to the audio for this edit is to mix the music with the rest of the timeline audio, reducing the volume level of the music during interviews or other dialogue clips—a technique often referred to as ducking.
实现这个效果有多种方法。例如,可以通过关键帧调整音乐片段的音量,让人声响起时音乐变小、停顿时音乐变大。As always, there are many ways of achieving this result. For example, you will use keyframes to adjust the levels of the music clip so that it’s louder when people aren’t speaking and quieter when they are.
- 取消 Audio 3 的静音,必要时点击
Full Extent Zoom按钮查看整条时间线。Unmute Audio 3 and, if necessary, click theFull Extent Zoombutton to see the entire timeline.
播放时间线,听 Audio 3 上的音乐与 Audio 1 上 Chris 的对白、Audio 2 上的 SOT 片段之间的音量平衡。Play the timeline, listening to the balance of the music on Audio 3 against Chris’s dialogue audio on Audio 1 and the SOT clips on Audio 2.
- 在时间线继续播放的过程中,把 Audio 3 上音乐片段的音量调到大约 -22 dB,给对白和 SOT 留出更多空间。While the timeline continues to play, adjust the level of the clip on Audio 3 to around -22 dB to give the dialogue and SOT a little more breathing room.
对白部分的音乐音量已经设好,接下来需要提升非对白段落的音乐音量,填补空白,让整体配乐保持一致。With the level of the music now set for when Chris is speaking, you’ll now need to increase the levels when he’s not speaking to fill the “space” and create a consistent soundtrack.
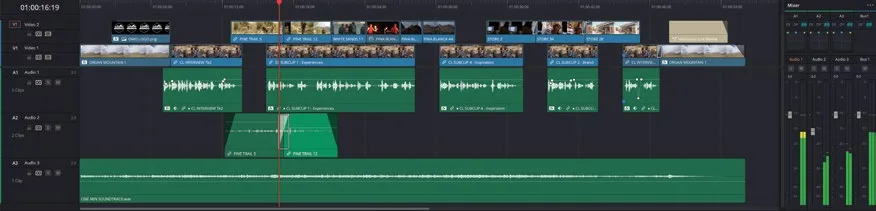
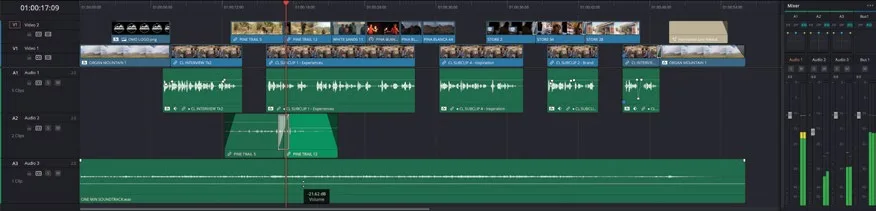
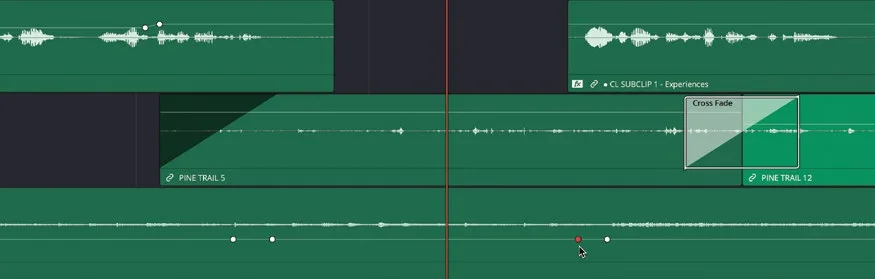
按住 Option(macOS)或 Alt(Windows)点击音乐片段的音量线两次,在 soundbite 起点前后各添加一个关键帧。Option-click (macOS) or Alt-click (Windows) the volume line for the music clip twice to add keyframes around the soundbite’s start.
- 把第一个关键帧之前那段音乐的音量调到大约 -12 dB。Adjust the clip’s audio level for the portion before the first keyframe to around -12 dB.
- 按 /(正斜杠)预览这段时间线,注意音乐音量在 Chris 开始说话时如何下降。Press / (forward slash) to preview this part of the timeline, listening to how the music’s audio level drops as Chris begins speaking.
- 向右滚动时间线,找到 Audio 1 上第一个和第二个 soundbite 之间的空白。Scroll the timeline to the right until you arrive the gap on Audio 1 between the first and second soundbites.
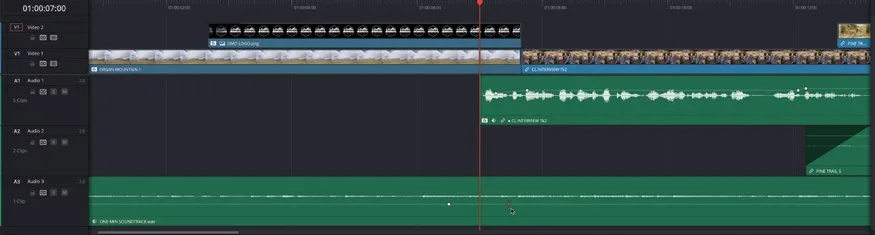
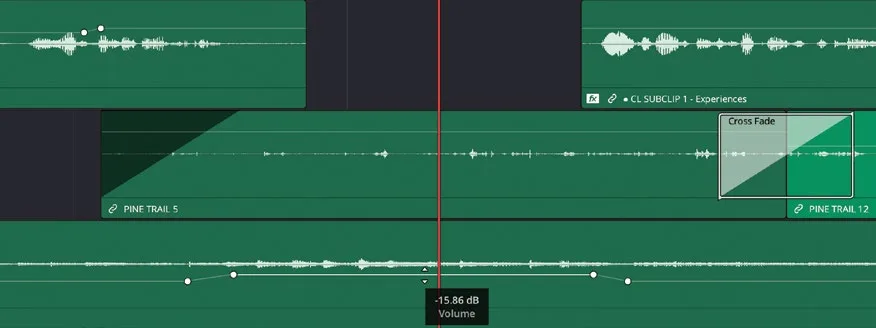
- 用 Option-click(macOS)或 Alt-click(Windows)在音乐片段上添加四个关键帧:在第一段 soundbite 中 Chris 停声的区域前后各一个(参考波形而不是片段的剪辑点),在下一段 soundbite 起点前后再各一个。Using Option-click (macOS) or Alt-click (Windows), add four keyframes to the music clip: two around where Chris stops speaking in the first soundbite (use the waveforms as a guide rather than the clip’s edit point) and another two around the start of the next soundbite.
- 把两个中间关键帧之间的音量条调到大约 -15 dB,让音乐在 Chris 台词暂停处音量上扬。Adjust the volume bar between the two middle keyframes to around -15 dB to raise the audio of the music during the pause in Chris’s dialogue.
- 按 /(正斜杠)预览混音效果,确认音乐音量有所提升,但不会盖过 Audio 2 的 SOT 音频。Press / (forward slash) to preview the mix, ensuring that the music level rises but doesn’t swamp the SOT audio of Audio 2.

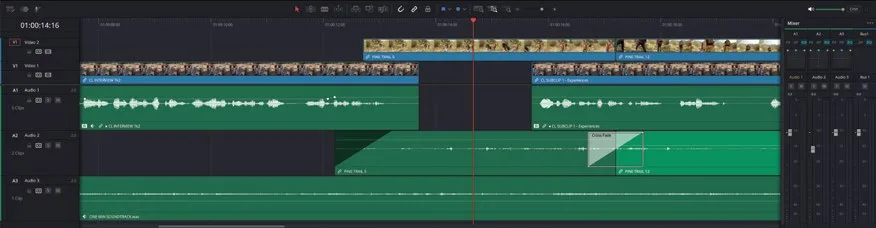
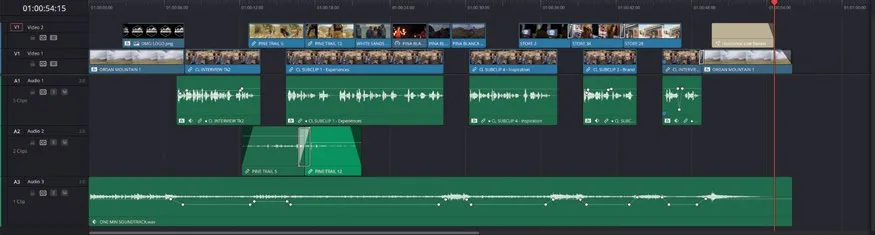
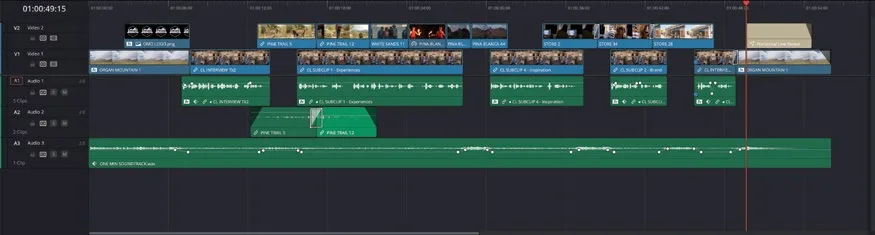
继续在音乐片段的音频音量上添加关键帧,逐一调整音乐的各部分,让它填满 soundbite 之间的空隙,完成混音。Continue to add keyframes to the audio levels of the music clip to finish the mix, adjusting each part of the music to fill the gaps between the soundbites.
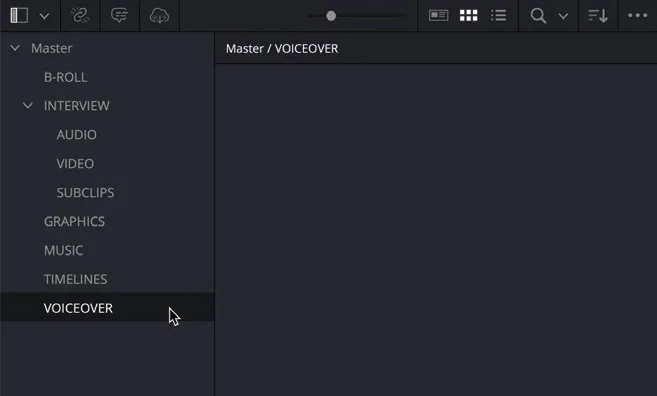
NOTE · 注意NOTE:如果需要先追上进度再进入下一步,可选中 TIMELINES bin,然后选择 File > Import>…
NOTE:如果需要先追上进度再进入下一步,可选中 TIMELINES bin,然后选择 File > Import > Timeline,定位到 R20 Beginners Guide / Lesson 03 / Timelines / OMO PROMO CATCHUP 11.drt,点击 Open。If you need to catch up before moving to the next step, select the TIMELINES bin and choose File > Import > Timeline, navigate to R20 Beginners Guide / Lesson 03 / Timelines / OMO PROMO CATCHUP 11.drt and click Open.
本卡术语Terms in this card
媒体夹Bin 声音片段Soundbite 时间线Timeline 关键帧Keyframe 播放头Playhead 音效Sound Effects