创建竖版时间线Creating Vertical Timelines
9 steps
简介Overview
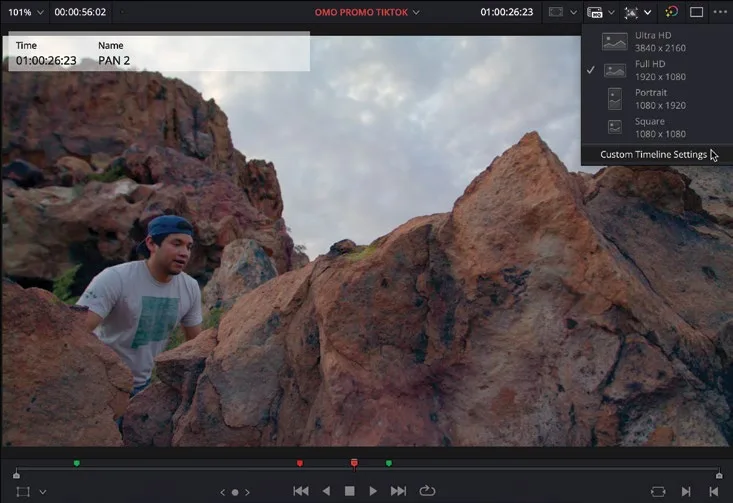
虽然大多数现代摄像机仍然拍摄传统的 16:9 画面,但这并不意味着交付物也必须是 16:9。由于很多视频在手机端观看,许多社媒创作者更倾向于使用其他画幅,例如 1:1(Instagram 偏好的方形格式)或 9:16(TikTok 和 YouTube Shorts 常见的竖版格式)。DaVinci Resolve 支持为不同画幅自定义时间线设置。接下来这个练习会演示把一条时间线改造成竖版有多简单。While most modern video cameras still shoot traditional 16:9 aspect video footage, that doesn’t necessarily mean you are always required to deliver 16:9 footage. With many videos watched on mobile devices, many social media content creators prefer an alternative aspect ratio, such as 1:1 (square formats such as those favored by Instagram) or 9:16 (vertical formats common on TikTok and YouTube Shorts). DaVinci Resolve allows you to customize your timeline settings for several aspect ratios. In this next exercise, you’ll learn how easy it is to repurpose a timeline to fit a vertical aspect ratio.
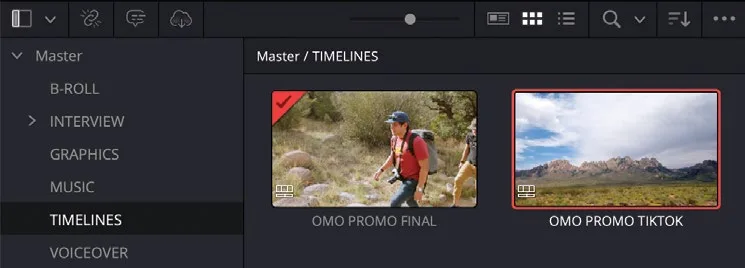
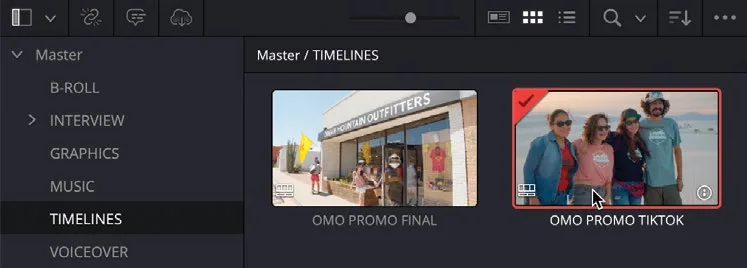
首先,复制当前时间线。To begin, you’ll need to duplicate the current timeline.
- 选择 Timeline > Find Current Timeline in Media Pool。Choose Timeline > Find Current Timeline in Media Pool.
- 选中当前时间线后,选择
Edit > Duplicate Timeline,或者右键点击该时间线并选择 Duplicate Timeline,复制出一条 OMO PROMO FINAL 时间线副本。With the current timeline selected, choose Edit > Duplicate Timeline, or right-click the selected timeline and choose Duplicate Timeline to create a copy of the OMO PROMO FINAL timeline. - 选中复制出的时间线,点击名称进入编辑状态,将其重命名为 OMO PROMO TIKTOK,然后按 Enter(Return)确认。Select the duplicated timeline, click the name to highlight it, rename it OMO PROMO TIKTOK, and press Enter (Return).
- 双击 OMO PROMO TIKTOK 时间线,或在时间线查看器菜单中选择它来打开。Double-click the OMO PROMO TIKTOK timeline or select it from the timeline viewer menu to open it.
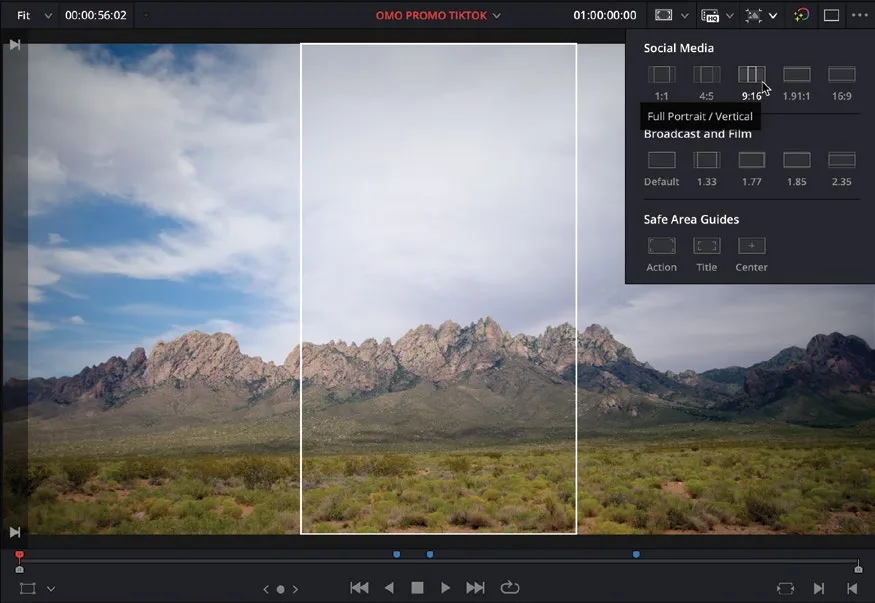
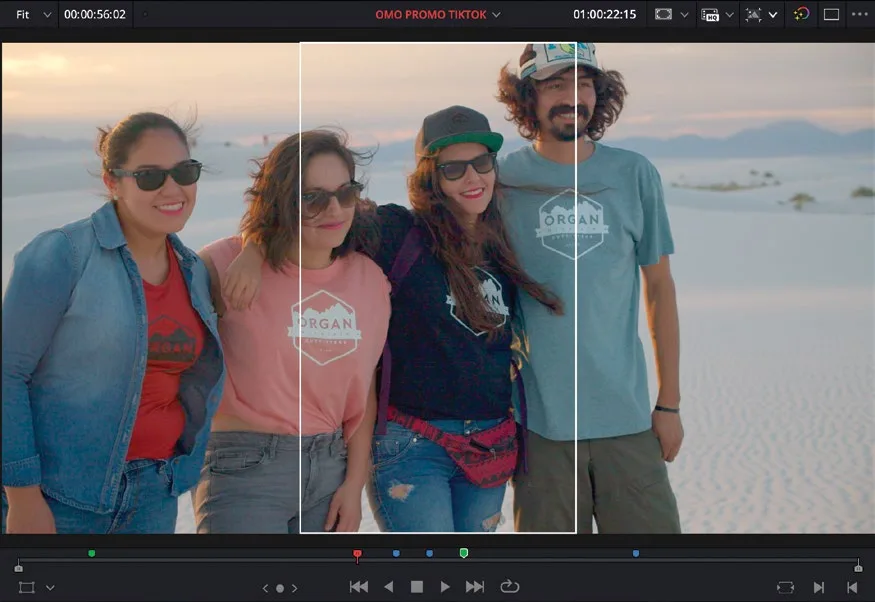
通过 Safe Guides 可以大致预览这条时间线在竖版画面下的呈现效果。The Safe Guides can help you get a sense of what the footage in this timeline will look like once it’s presented in a vertical timeline.
- 在 Guides 菜单中,关掉 Default 引导线,开启 9:16 Social Media 引导线。In the Guides menu, disable the Default guide and enable the 9:16 Social Media option.
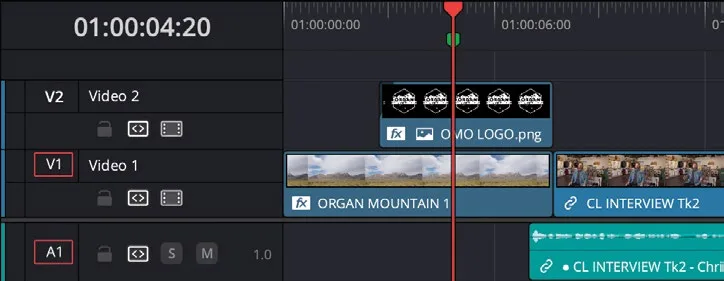
- 在时间线里将播放头移到开头附近的 graphic 片段上方,并确保当前没有选中任何片段。In the timeline, place the playhead over the graphic clip near the start and ensure that no clips are selected.
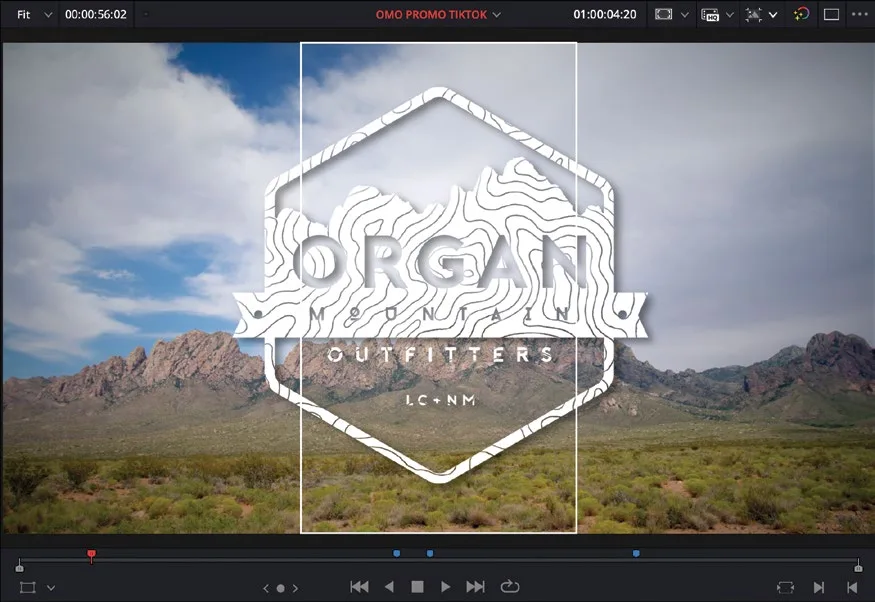
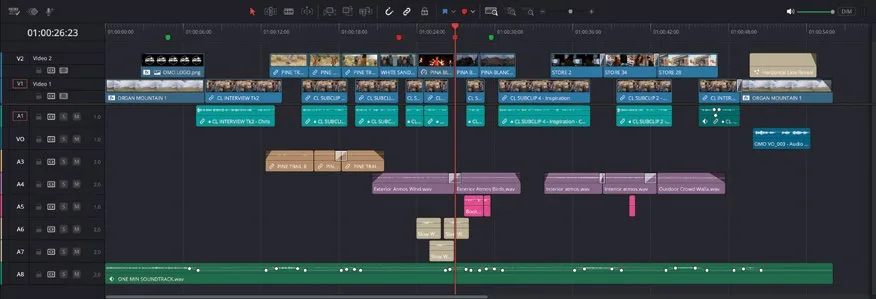
这个 graphic 片段以及其他镜头都需要重新构图以适配 9:16 竖版画幅。为了之后便于定位,可以在时间线上添加 marker。不过这条时间线已经存在上一节课音频剪辑用的一组 marker,因此建议换一种颜色来区分。This graphic and other shots will need to be reframed for a vertical 9:16 aspect ratio. To easily identify and locate these shots later, you can add markers to the timeline. However, since the timeline currently has a set of markers used for the audio editing in the previous lesson, it would be helpful to use a different color for these new markers.
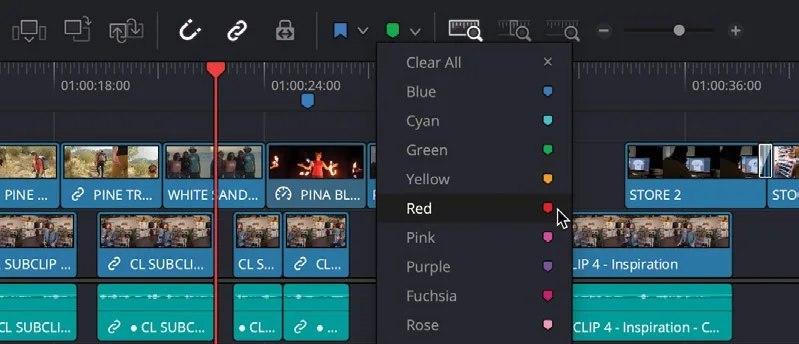
- 在时间线工具栏里点击 Marker 菜单图标,从 marker 颜色列表中选择 Green,使用绿色添加 marker。In the timeline toolbar, click the Marker menu icon and choose Green from the list of marker colors to add a green marker.
TIP · 提示提示:随时可以在 Marker 窗口中修改 marker 的颜色…
提示:随时可以在 Marker窗口中修改 marker 的颜色。You can always change a marker’s color in the Marker window.
- 在时间线上双击该 marker,打开 Markers 对话框。将 marker 名称从 Marker 1 改为 REFRAME 1,然后点击 Done。Double-click the marker in the timeline to open the Markers dialog. Change the name of the marker from Marker 1 to REFRAME 1, and then click Done.
- 在时间线上,将播放头移到片段 PINA BLANCA 44 上,也就是那位男士望向岩石的远景镜头。In the timeline, move over the clip PINA BLANCA 44, the wide shot of the guy looking out over the rocks.
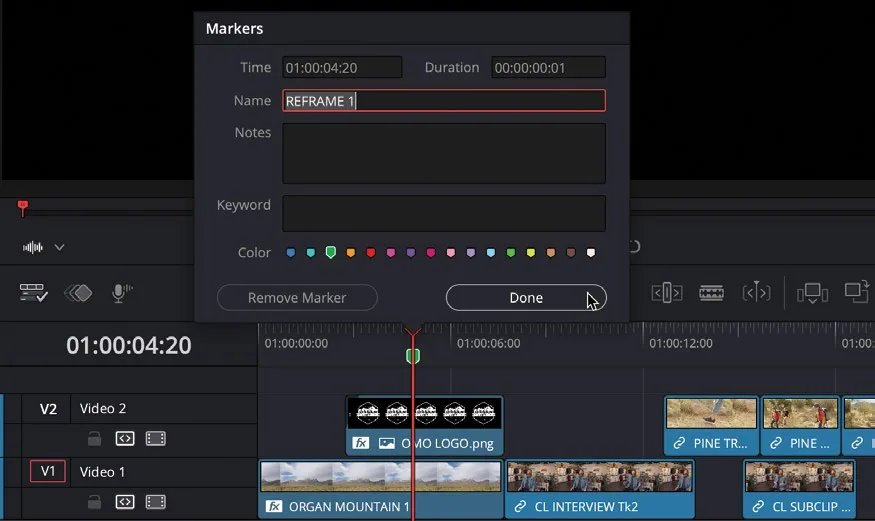
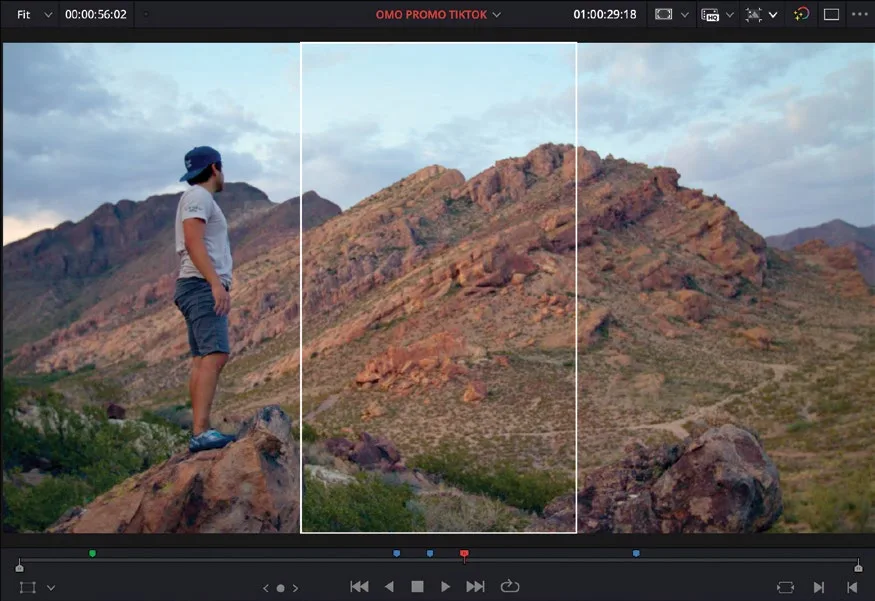
再次点击 Marker按钮,或按 M 键,添加另一个绿色 marker。Click the Marker button again, or press M, to add another green marker.
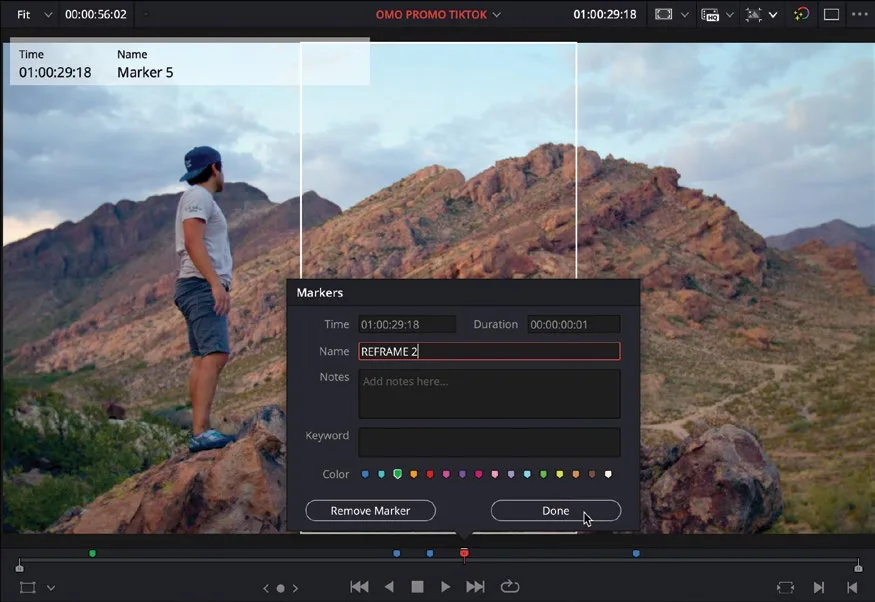
再次按 M 键,或在时间线/时间线 viewer 中双击新 marker 打开 Markers 对话框。将 marker 名称从 Marker 2 改为 REFRAME 2,然后点击 Done。Press M again, or double-click the new marker in the timeline or the timeline viewer to open the Markers dialog. Change the marker’s name from Marker 2 to REFRAME 2, and then click Done.
将播放头移到 WHITE SANDS 11 片段上。Move over the clip WHITE SANDS 11.
这个镜头要把所有人都框入画面,需要做一个 pan(平移)。To get all the people in this shot, you will need to create a pan.
在时间线工具栏的 Marker 菜单中选择 Red,为时间线添加一个红色 marker。In the timeline toolbar Marker menu, select Red to add a red marker to the timeline.
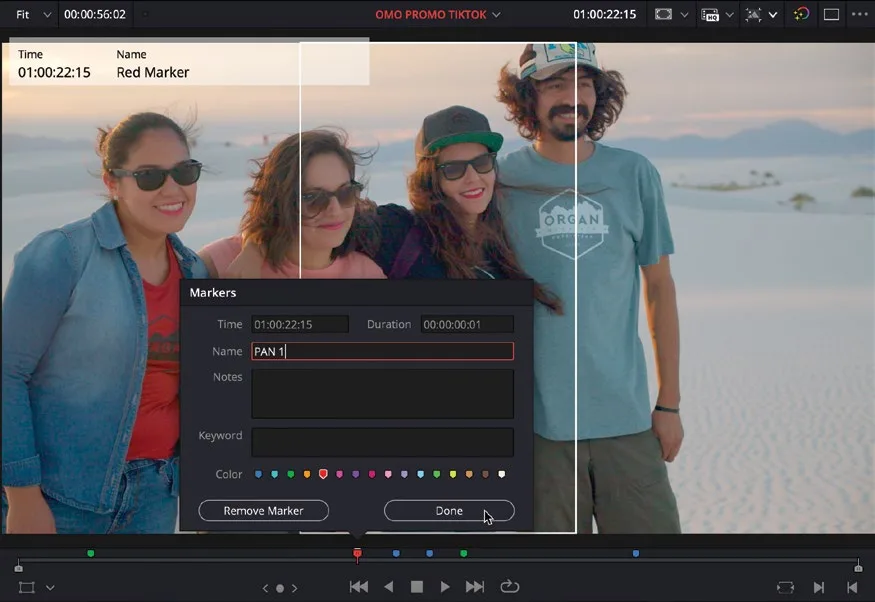
双击该红色 marker,将 Marker 3 重命名为 PAN 1。Double-click the red marker and rename Marker 3 PAN 1.
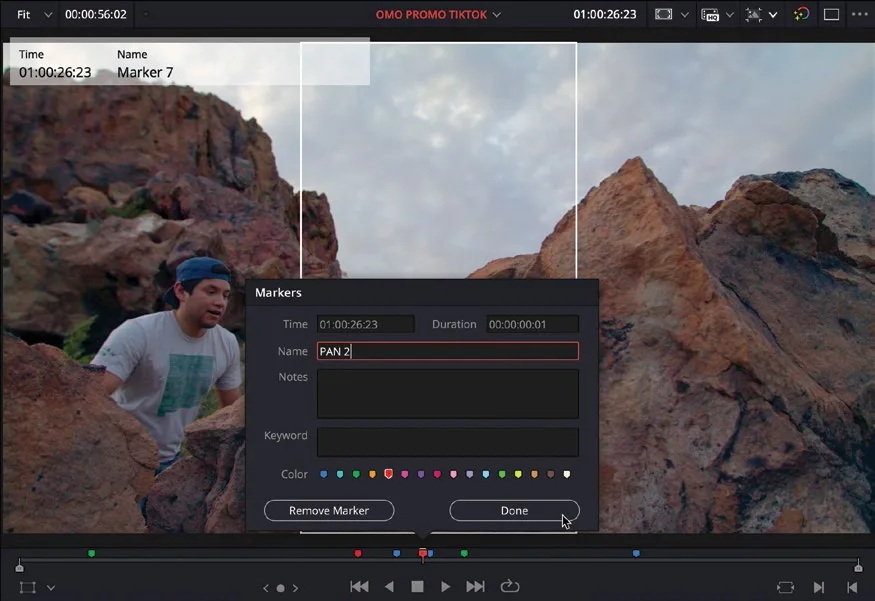
将播放头移到那位男士在岩石上跳跃的低角度镜头 PINA BLANCA 48 上,添加另一个红色 marker 并重命名为 PAN 2。Move to the low-angle shot of the guy jumping on the rocks, PINA BLANCA 48, add another red marker, and rename it PAN 2.
点击时间线 viewer 中的 Guides按钮,关闭屏幕上的 guides。Click the Guides button in the timeline viewer to turn off the onscreen guides.
为了简化时间线上的 marker,可以选择隐藏当前不用的颜色。To simplify the markers in the timeline, you can choose to hide the colors you’re not currently using.
选择 View > Show Markers > Blue,关闭时间线上的蓝色 marker。Choose View > Show Markers > Blue to turn off the blue markers in the timeline.
稍后的步骤中,你会用这些时间线标记快速定位片段。You will use these timeline markers to quickly locate these clips in later steps.
本卡术语Terms in this card
媒体池Media Pool 时间线Timeline 竖版时间线Vertical Timeline 标记Marker 播放头Playhead 窗口Power Window 静帧Still