快速导出Quick Export
6 steps
简介Overview
客户满意成片并签收,你自己也对作品感到欣慰之后,就只剩最后一步:把剪辑好的时间线导出,尽快发布到主流流媒体和社交平台上。DaVinci Resolve 的 Quick Export 功能可以轻松完成这一步。Of course, the client loves the edit and is happy to sign off on your work. Hopefully, you’re also pleased with what you’ve accomplished. Now, the only step left is to export the edited timeline so it can be posted to popular streaming and social media websites as quickly as possible. You can accomplish this easily using DaVinci Resolve’s Quick Export feature.
NOTE · 注意提示:关于更丰富的导出自定义选项,可参阅第 10 课“交付与媒体管理”中的 Deliver page 部分…
提示:关于更丰富的导出自定义选项,可参阅第 10 课“交付与媒体管理”中的 Deliver page 部分。You will explore more customization options for your exported work using the Deliver page in Lesson 10, “Delivery and Media Management.”
- 在界面右上角点击
Quick Export按钮,或选择File > Quick Export。In the top right corner of the interface, click theQuick Exportbutton or choose File > Quick Export.
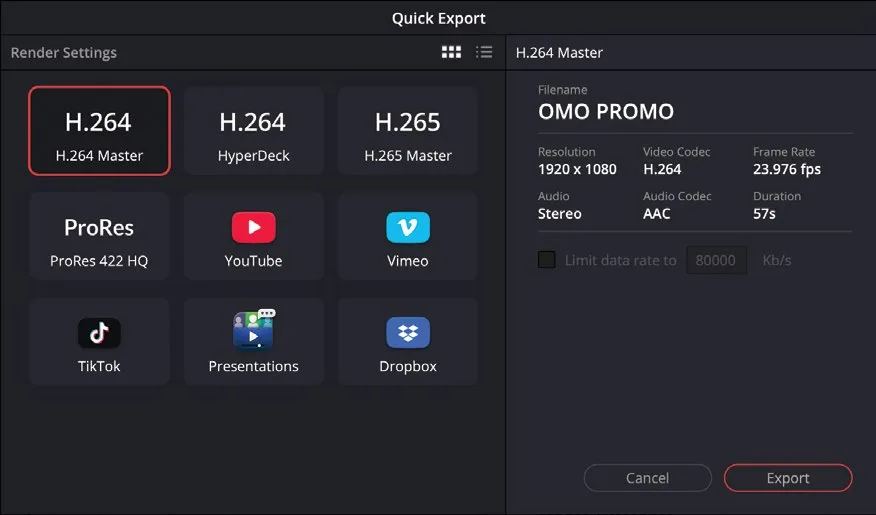
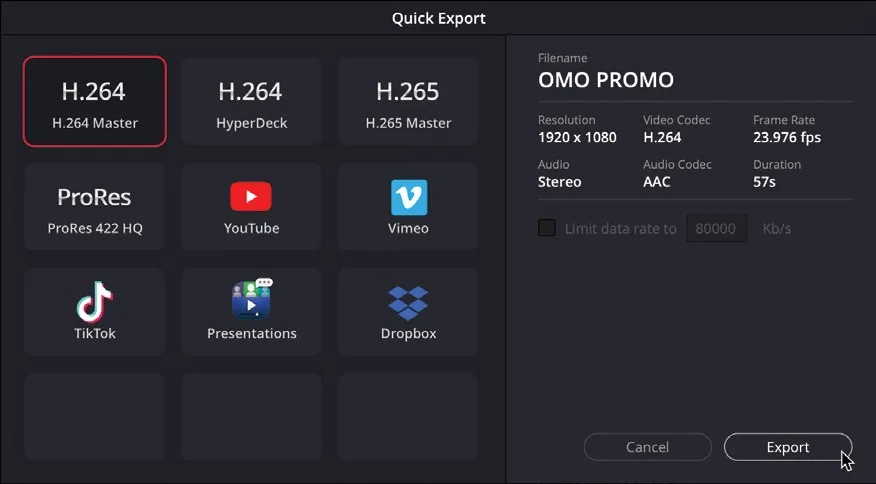
Quick Export窗口提供常用预设,可将当前打开的时间线直接输出为视频文件,或一键上传到 YouTube、Vimeo、TikTok、Dropbox 等社交与分享平台。The Quick Export window includes commonly used presets for creating a video file of your currently open timeline, including uploading directly to common social media and sharing sites, including YouTube, Vimeo, TikTok, and Dropbox.
- 选择 YouTube 选项。Select the YouTube option.
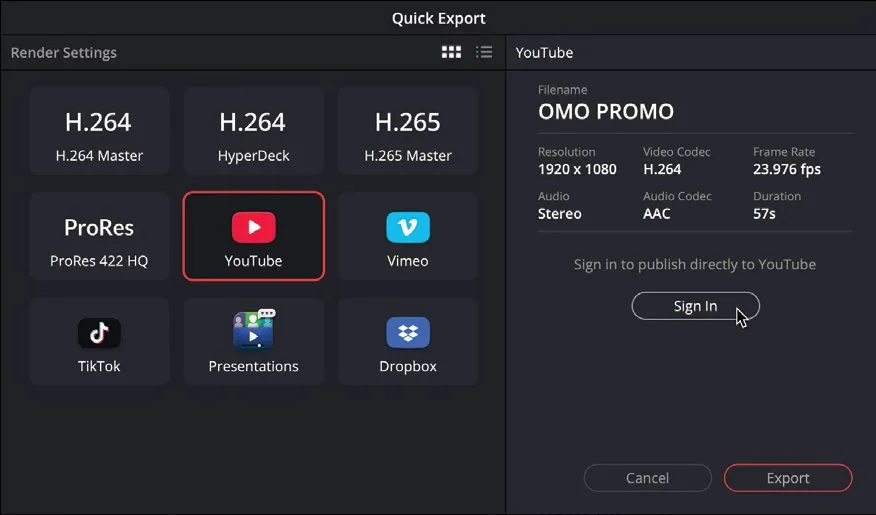
该预设已包含生成文件并直接上传到 YouTube 所需的全部设置,摘要信息显示在右侧面板;若尚未填写账户信息,则只显示 Sign In按钮。This preset contains all the settings needed to create a file and upload it directly to YouTube for you, a summary of which is available in the panel on the right. However, if you haven’t already input your account information, you’ll just see a Sign In button.
- 如果还未在 DaVinci Resolve 中输入 YouTube 账户信息,点击
Sign In按钮。Click the Sign In button if you haven’t already entered your account information for YouTube.
Resolve 会在默认浏览器中打开窗口,供你完成账户身份验证。Resolve will open a window in your internet browser for you to authenticate your account.
- 按提示输入账户信息并授予 DaVinci Resolve 相关权限。完成登录后,
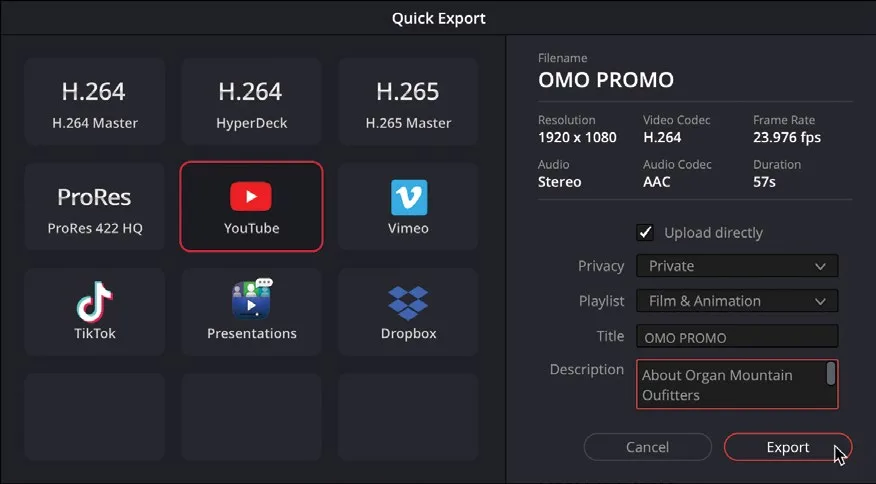
Quick Export窗口会出现Upload Directly复选框;勾选后即可填写视频标题、隐私设置和描述。If required, follow the directions to enter your account information and give DaVinci Resolve the relevant permissions. When you’ve completed the sign-in process, theQuick Exportwindow will show anUpload Directlycheckbox. Selecting this allows you to enter a title, privacy settings, and a description for the uploaded video.
TIP · 提示提示:也可通过 DaVinci Resolve > Preferences > Internet Accounts登录…
提示:也可通过 DaVinci Resolve > Preferences > Internet Accounts登录或登出这些服务。相关偏好设置详见第 7 课“项目设置与偏好”。You can also sign in to or out of these services by choosing DaVinci Resolve > Preferences > Internet Accounts. You will learn more about the preferences in Lesson 7, “Project Setup and Preferences.”
如果不想直接上传到视频分享平台,也可以先生成独立的视频文件,再手动上传或通过其他方式分发。Instead of uploading directly to a video sharing service, though, you might just want to create a stand-alone file. You can then manually upload the file instead or distribute it in other ways.
- 选择 H.264 Master 预设,待导出文件的详细信息同样会显示在
Quick Export窗口的右侧面板中。Select the H.264 Master preset. Again, details of the file to be exported are summarized in the right panel of theQuick Exportwindow.
TIP · 提示默认情况下,导出文件的名称与当前时间线一致,你也可以在这一步按需重命名…
默认情况下,导出文件的名称与当前时间线一致,你也可以在这一步按需重命名。By default, the exported file will have the same name as the timeline you’re outputting, but you can rename the exported video at this stage if necessary.
- 点击 Export,定位到 R20 Beginners Guide / OUTPUT / EXPORTS 文件夹,点击 Save。Click Export, navigate to R20 Beginners Guide / OUTPUT / EXPORTS, and click Save.
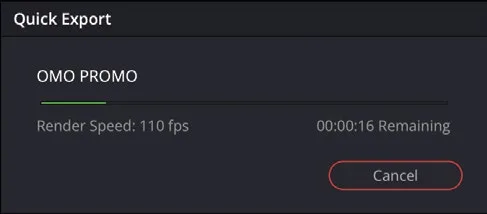
随后会弹出渲染进度窗口,显示预计剩余时间;如果涉及上传,也会显示上传进度。A render progress window shows the time to completion and, if appropriate, the upload progress for the movie.
渲染进度条走完后,关闭 Quick Export 进度窗口,即可在之前指定的路径找到导出的视频,用电脑默认播放器打开查看。Once the render progress bar has completed, close the Quick Export progress window, and you will find the exported video in the location you chose for it so you can open it in your computer’s default video player.
恭喜!通过前面三节课的学习,你已经利用 DaVinci Resolve Edit page 的剪辑工具完成了一支篇幅不长但制作完整的宣传片。希望这些课程能帮助你理解这些工具的工作方式,并迁移到自己的项目中开始使用。Congratulations! Over these first three lessons, you have successfully put together a short yet complex promo using the editing toolset available to you in DaVinci Resolve’s edit page. Hopefully, these lessons have given you some insights into how these tools function and how you can start to use them in your own work.
在本《DaVinci Resolve 20 入门指南》接下来的章节中,你将进入 Color page,学习如何对素材进行调色(color correct)与风格化调色(grade)。In the next section of this Beginner’s Guide to DaVinci Resolve 20, you will look at how you can use the color page to color correct and grade your footage.
本卡术语Terms in this card
时间线Timeline 交付页Deliver page 导出Export H.264H.264 媒体管理Media Management 预设Preset 渲染Render 编辑页Edit page 快速导出Quick Export 调色页Color page 窗口Power Window 调色Grade 项目设置Project Settings