添加竖版时间线Adding the Vertical Timeline
5 steps
简介Overview
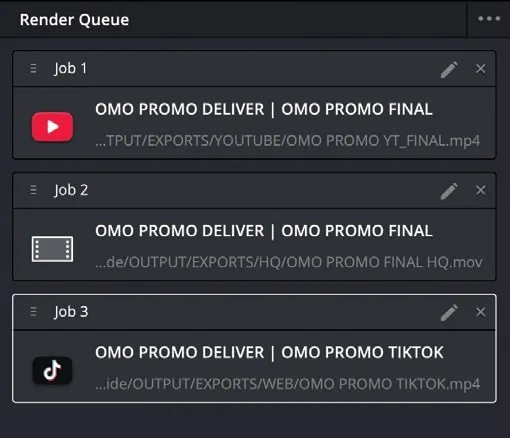
目前渲染队列里有两个任务,都来自同一条时间线。Deliver页面的一大优势是:可以把来自同一条时间线的不同任务一起排进队列,再依次渲染。Currently, you have two jobs you’ve submitted to the render queue, both of which are from the same timeline. One of the main advantages of using the deliver page is that you can queue the jobs before rendering them all sequentially—even different jobs from the same timeline!
当然,OMO Promo 的 TikTok 版本也要一起交付。Of course, you’ll also want to deliver the TikTok version of the OMO Promo too.
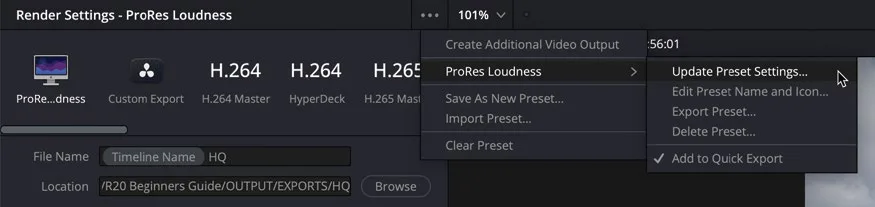
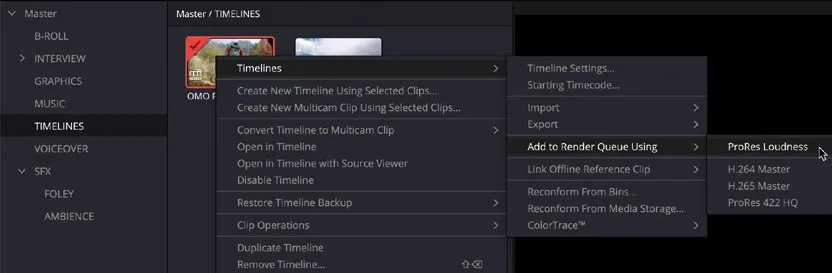
- 在
Deliver页面的 viewer 中选择 OMO PROMO TIKTOK 时间线打开。From the deliver page’s viewer, choose the OMO PROMO TIKTOK timeline to open it. - 在渲染设置中选择 TikTok 1080p 预设。From the render settings, choose the TikTok 1080p preset.
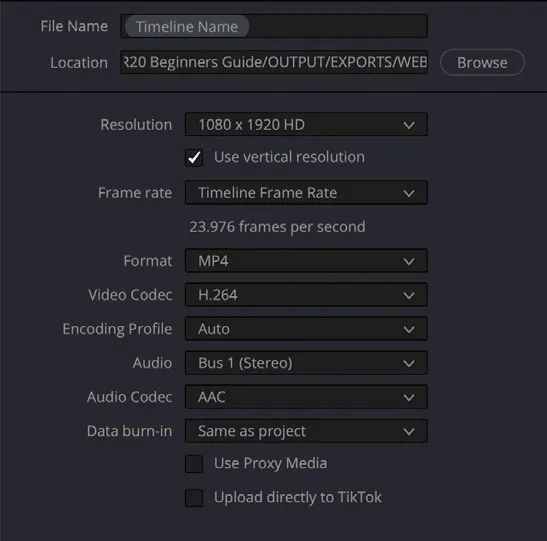
- 在 File Name 字段里去掉 HQ,只保留 Timeline Name 变量,然后把 Location 改为 R20 Beginners Guide / OUTPUT / WEB。In the File Name field, remove the HQ, leaving just the Timeline Name variable, and change the Location to R20 Beginners Guide / OUTPUT / WEB.
- 确认 Resolution 设置为 1080 x 1920 HD,并勾选 "Use vertical resolution" 选项。Frame Rate 依据时间线设置为 23.976。Ensure that the Resolution is set to 1080 x 1920 HD and has the “Use vertical resolution” option checked. The Frame Rate should be set to 23.976 per the timeline settings.
该预设的其余选项都已配置好,可以直接输出适合上传 TikTok 的文件。All other options for this preset are set to deliver a file appropriate to upload directly to TikTok.
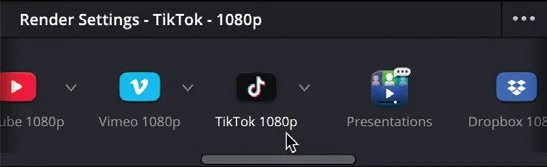
- 点击 Add to Render Queue,把这第三个任务加入队列。Click Add to Render Queue to add this third job.
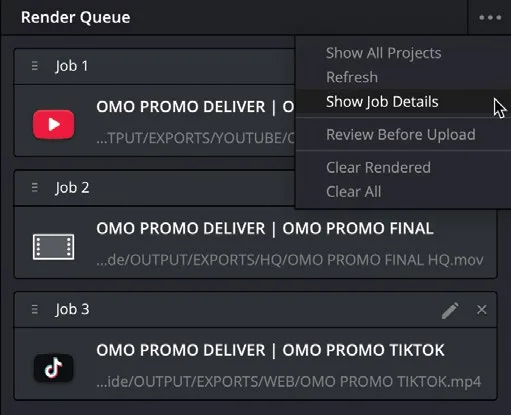
最后一个任务加好后,就可以统一导出渲染队列里的所有任务了。With the final job added, you are ready to export all the jobs you have added to the Render Queue.
本卡术语Terms in this card
时间线Timeline 交付页Deliver page 导出Export 帧率Frame Rate 预设Preset 渲染队列Render Queue 渲染Render 分辨率Resolution