音频混音Audio Mixing
8 steps
简介Overview
调音往往和调画面一样耗时。本节课前半部分会介绍一些常用技巧,帮助你高效地把音频混到合适的电平。In many cases, you can spend as much time refining and finessing the audio in the timeline as you can the video. Over the first part of this lesson, you’ll use some common techniques to ensure that you can mix your audio to the correct levels efficiently and effectively.
时间线上的音频通常由对白、音效、音乐等元素组成,其中最重要的当属人声——无论是采访(如 Organ Mountain Outfitters 的素材)、旁白还是剧情对白,每句话都是和观众沟通的关键,必须听得清、听得懂。观众一旦听不清内容,就很难对你的故事或信息产生共鸣。Arguably, while the audio in your timelines is made up of many different elements (dialogue, effects, and music are just three of these elements), the most important of these is the spoken word. Whether it be an interview as you have with the Organ Mountain Outfitters footage, voiceover, or dialogue in a dramatic scene, each spoken word is an important way of communicating with your audience and will need to be easily heard and understood. If the audience can’t hear what someone is saying, then clearly there is no way they will be engaged with your story or messaging.
基于这一点,先把时间线里对白片段的电平调到一个统一的起点,是做出成功混音的好开始。接下来在 Organ Mountain Outfitters 这个剪辑中,你会先把 Chris 的采访片段标准化(normalize)到一致的电平。不过在这之前,需要先看看当前的电平情况。With this in mind, setting the initial levels of the dialogue clips in your timelines is a good starting point for creating a successful mix. So for the Organ Mountain Outfitters edit, you will start by normalizing Chris’s interview clips to a consistent level. However, to do that, you need to know where the levels are currently.
- 选择
Workspace > Reset UI Layout,把界面布局恢复到默认状态。Choose Workspace > Reset UI Layout to reset the interface layout to the default. - 在时间线中点击
Full Extent Zoom按钮,必要时调整时间线,确保能看到所有片段。In the timeline, click theFull Extent Zoombutton and, if necessary, adjust the timeline so you can see all the clips.
TIP · 提示提示:如果在 Reset UI Layout 后不希望时间线视图被重置,可以先选择 File > Close Curre…
提示:如果在 Reset UI Layout 后不希望时间线视图被重置,可以先选择 File > Close Current Timeline,再重置 UI;之后从时间线上方的时间线菜单里重新打开刚才那条时间线即可。To prevent the timeline view from resetting when you choose Reset UI Layout, choose File > Close Current Timeline before resetting the UI layout. You can then choose to reopen the last timeline from the timeline menu at the top of the timeline viewer.
- 点击界面左上角的
Media Pool按钮,关闭媒体池——这节课稍后才会用到它。Click the Media Pool button in the top left of the interface to close the media pool since you won’t need it until later in this lesson. - 点击界面右上角的
Mixer按钮,在时间线右侧打开音频调音台;拖动调音台左边缘调整宽度,让所有音轨控件都能显示出来。Click the Mixer button in the top right of the interface to open the audio mixer to the right of the timeline, dragging the left edge to resize it, showing all the audio track controls.
- 点击时间线检视器右上角的
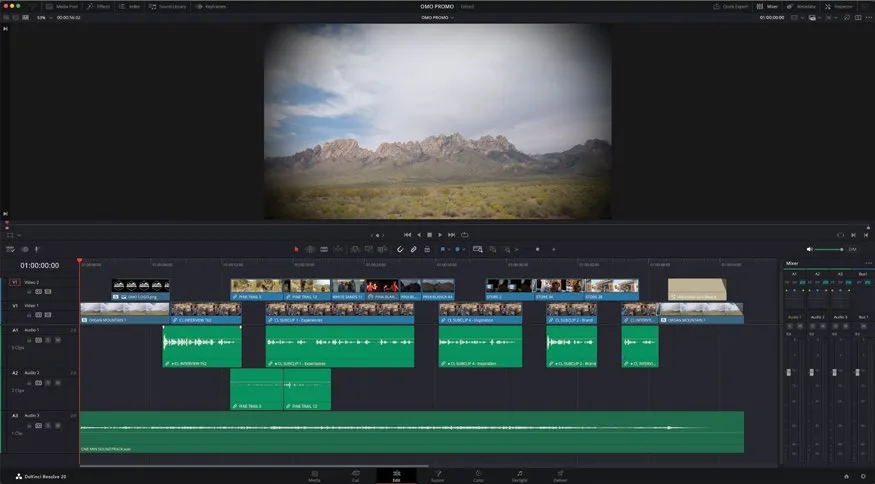
Single-Viewer Mode按钮,让 Resolve 切换为单检视器显示。Click the Single-Viewer Mode button in the top right of the timeline viewer so thatResolve now displays a singleviewer. - 点击 Timeline View Options 菜单,把视频轨道调小、音轨调大。Click the Timeline View Options menu and resize the video tracks to make them smaller and the audio tracks to make them larger.
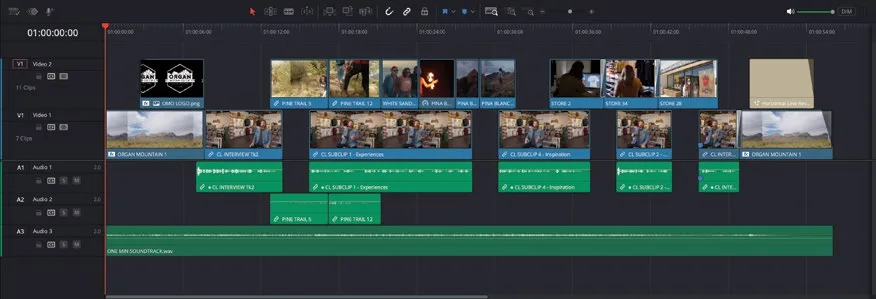
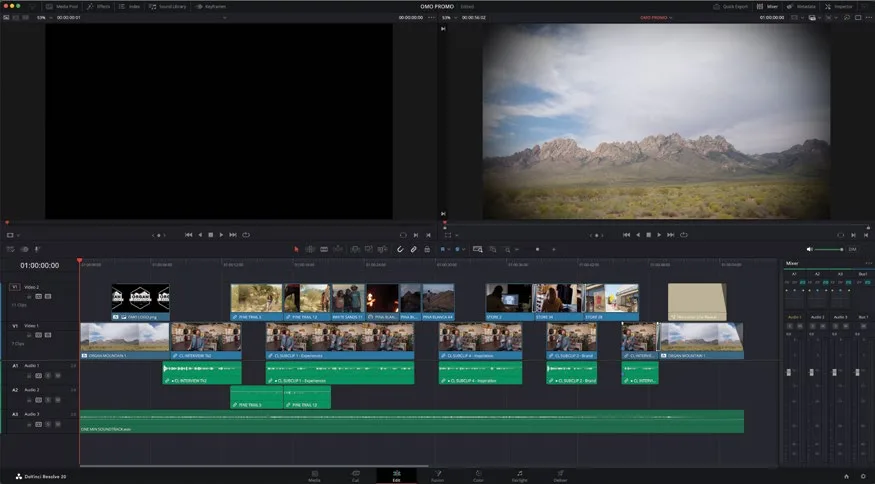
这样布局会更聚焦,屏幕空间也得到更合理的利用。This will give you a more focused layout that makes the best use of your screen real estate.
TIP · 提示提示:想保存这个布局供以后使用,可选择 Workspace > Layout Preset > Save Layout…
提示:想保存这个布局供以后使用,可选择 Workspace > Layout Preset > Save Layout Preset。To save this layout for use later, choose Workspace > Layout Preset > Save Layout Preset.
首先从 Chris 的对白人声片段入手,它们目前都在 Audio 1 这条音轨上。You need to start off by focusing on Chris’s dialogue clips. These are currently all in the first audio track, Audio 1.
- 在时间线轨道控件或
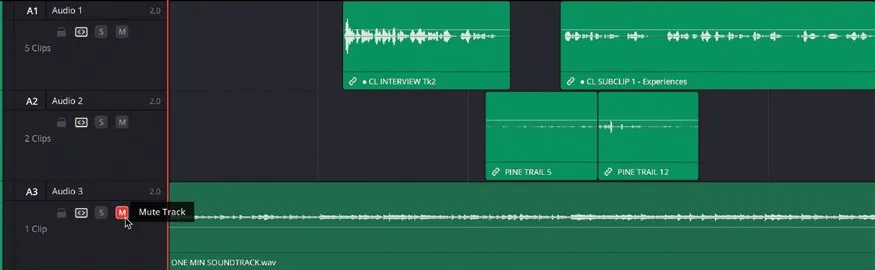
Mixer面板中,点击 Audio 3 的Mute按钮,把音乐静音,这样能专注听 Chris 的讲话。Click the Mute button for Audio 3 in the timeline track controls or in the mixer so the music doesn’t play, allowing you to focus just on what Chris is saying.
- 从时间线起点开始播放,在 Mixer 里观察 Audio 1 各片段的电平变化。Play the timeline from the start, observing the levels of the clips in the mixer for Audio 1.
虽然这些片段的音频来自同一段采访,但电平差异很大。Mixer 中你会看到有的片段峰值高达 -3 dBFS,有的则低至 -18 dBFS。Even though the audio for these clips is from the same interview, there’s a lot of variation in the levels. In the mixer, you should see some clips peak as loud as -3 dBFS, while others peak as low as -18 dBFS.
本卡术语Terms in this card
媒体池Media Pool 时间线Timeline 预设Preset 调音台Mixer 标准化音量Normalize 配音Voiceover 音效Sound Effects